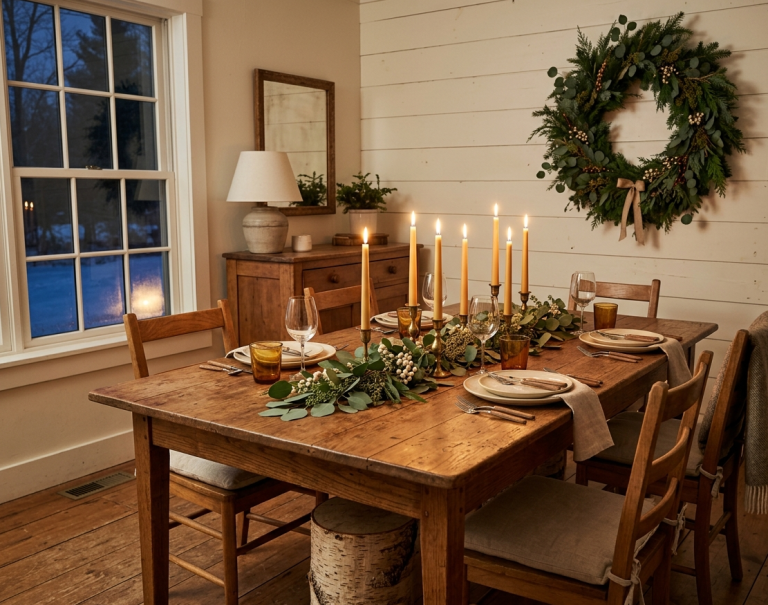
17 Easy DIY Pinecone Wreath Ideas Without Glue or Wire
There’s something magical about bringing the outdoors in during the winter months. Pinecone wreaths offer a timeless, rustic charm that’s perfect for holiday decorating but many crafters are intimidated by the thought of hot glue burns or wrestling with floral wire. The good news? You can create stunning pinecone wreaths without any glue or wire at all. One clever technique uses water to temporarily close pinecone scales, allowing you to wedge them securely into a wire wreath form. As they dry, the scales expand and lock together, creating a sturdy, beautiful wreath that requires zero adhesive . This natural, low-mess approach is perfect for beginners, families, and anyone who wants to craft something beautiful without the fuss.
1: The Classic No-Glue, No-Wire Pinecone Wreath

This is the foundational technique that makes glue-and-wire-free wreaths possible. Using Eastern white pinecones (the long, skinny variety) and a 12-inch, 3-slot wire wreath form from Dollar Tree, you simply soak the pinecones in water for 30 minutes until they close up, then wedge them into the wire frame . As they dry over several days, the scales open and lock together, creating a secure wreath.
Tips
- Soak all pinecones for at least 30 minutes until fully closed
- Sort cones into small, medium, and large piles before soaking
- Work section by sectio stuff the outer ring with large cones, then medium, then small
2: Soaking Pinecones for Easy Assembly

The secret to the no-glue, no-wire method is understanding how pinecones behave in water. When soaked, pinecones close their scales tightly, making them easy to push between the wires of a wreath form. Once they dry, they open back up and become so tightly interlocked that they hold each other in place without any adhesive or wire . You’ll need a pail or large bowl of water, and you’ll want to weigh the pinecones down to keep them fully submerged.
Tips
- Fill a pail with water and weigh down pinecones with a plate or another container
- Allow at least 30 minutes for the cones to close completely
- Work while they’re still damp once they dry, they’ll expand and be harder to wedge in
3: Sorting Pinecones by Size
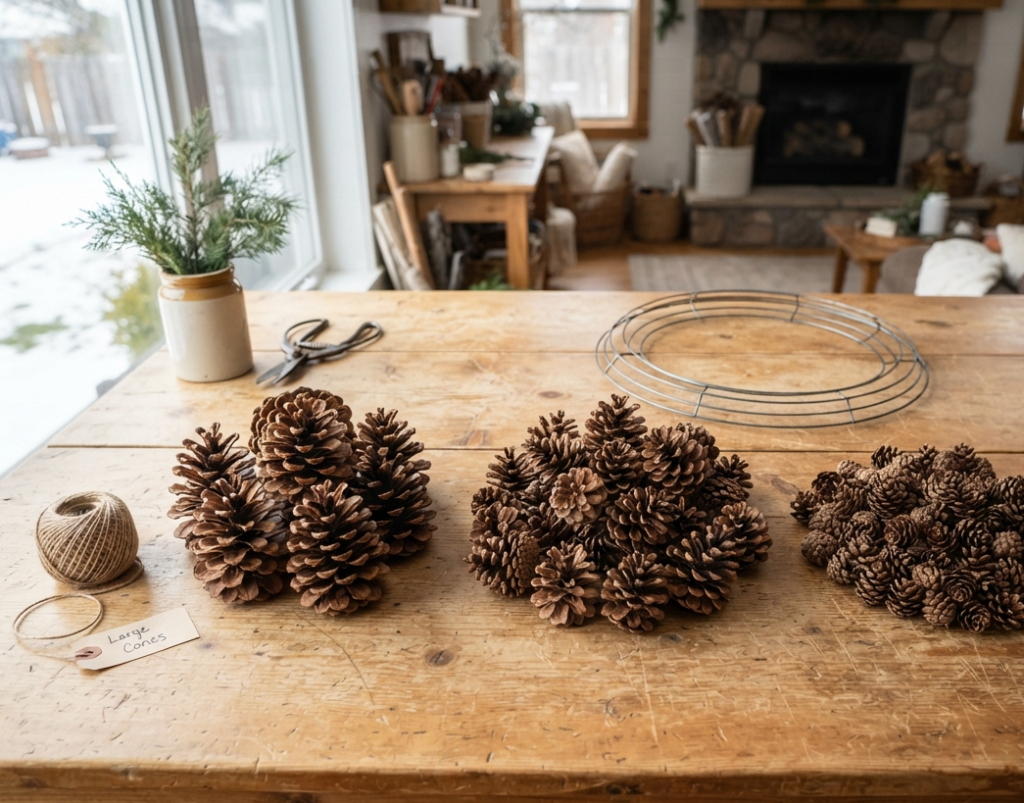
Before you start soaking, take time to sort your pinecones into three piles: small, medium, and large . This makes assembly much smoother and ensures your wreath has a balanced, professional look. You’ll use the largest cones for the outer ring, medium cones for the middle ring, and the smallest for the inner ring. For a standard 12-inch wreath form, you’ll need approximately 100-110 pinecones total .
Tips
- Use the largest cones with the most prominent scales on the outside edge
- Save the smallest, most delicate cones for the inner ring
- Sort before soaking so you can work quickly once the cones are wet
4: Three-Ring Wire Wreath Form Technique

The best wreath form for this no-glue, no-wire method has three slots or rings, not just two . Available at Dollar Tree or any craft store, this form allows you to build three distinct layers of pinecones outer, middle, and inner creating a dense, full wreath. When stuffing the cones, push the bottom 3-4 scales through the wire slots, and as you near the end of each section, squeeze the pinecones together and wedge one more in .
Tips
- A 12-inch form with 3 rings is ideal for a beautiful, full wreath
- Each section of the outer ring typically holds about 6 large cones
- As you work, squish cones together tightly they’ll expand as they dry and hold each other in place
5: Letting the Wreath Dry and Expand

Once your wreath is fully stuffed, the magic happens. Place it in a cool, dry area and let it sit for several days up to a week for best results . As the pinecones dry, their scales will slowly open, and they’ll expand into one another, creating a tight, interlocking structure. During the first day or two while the cones are still damp, you can gently adjust their position to fill any small gaps. Once fully dry, the wreath will be secure and ready to hang .
Tips
- Be patient allow the wreath to dry completely for the strongest hold
- Flatten cones slightly during the first day for a more even, rounded look
- Avoid handling too much once scales start to open
6: Budget-Friendly Dollar Tree Wreath Form Hack
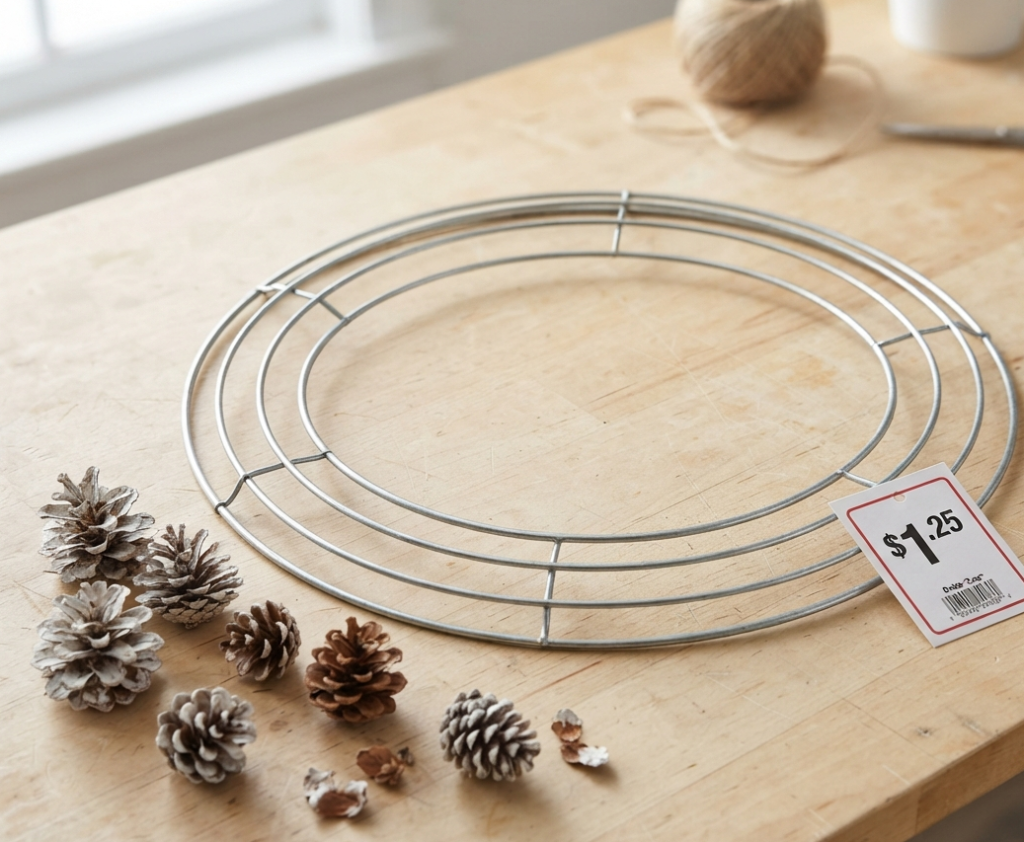
The best part of this no-glue, no-wire technique? It’s incredibly budget-friendly. A 12-inch, 3-slot wire wreath form costs just $1.25 at Dollar Tree . Even better, if you forage for your pinecones, the entire project costs just $1.25 plus tax . This makes it one of the most affordable wreath projects you can make, and the results look like they belong in a high-end home decor store.
Tips
- Check Dollar Tree’s craft section for wire forms with 3 rings
- Stock up on a few extra forms for future projects
- Foraging for pinecones keeps costs at a minimum
7: Adding a Ribbon Bow

Once your pinecone wreath is dry and secure, you can dress it up with a ribbon bow. For the no-glue method, simply tie a bow with long tails and attach it to the top of the wreath by threading the ribbon through the wire frame . A classic red plaid or simple velvet ribbon creates a stunning contrast against the natural brown of the pinecones . Use a simple knot or bow tied directly to the frame no glue or wire needed.
Tips
- Use a wired ribbon for easy shaping and a full bow
- Tie the bow directly onto the wire frame at the top
- Choose a color that complements your holiday color scheme
8: Adding Greenery Without Glue

Fresh or faux greenery can add texture and color to your pinecone wreath. To attach greens without glue or wire, tuck small sprigs of cedar, pine, or eucalyptus into the gaps between the pinecones while they’re still slightly damp . As the cones dry and expand, they’ll hold the greenery securely in place. For a more secure hold, you can also tuck the greenery stems directly into the wire wreath frame.
Tips
- Tuck greenery stems into gaps between pinecones while the wreath is still damp
- Cedar, spruce, and arborvitae work beautifully
- Add winterberry holly for a pop of red color
9: Painted Pinecone Wreath

For a more colorful look, paint your pinecones before assembling the wreath. Use spray paint in metallic gold, silver, or white for an elegant feel, or choose a single bold color for a modern statement . After painting and drying, use the same no-glue, no-wire technique soak the painted cones briefly (if using water-based paint, check that it won’t run), then wedge them into the form. Some crafters also cut pinecones into sections to create “pinecone flowers” for painting .
Tips
- Spray paint pinecones before soaking and drying
- For a subtle look, paint just the tips white for a snowy effect
- Use chalk paint for a matte, rustic finish
10: Natural Painted-Tip Wreath

For a subtle, snowy effect, paint just the tips of your pinecones white or silver. This creates a frosted, wintery look that’s beautiful and easy to achieve. It’s the perfect way to embrace a “winter wonderland” theme without overpowering the natural charm of the pinecones. The no-glue, no-wire method works perfectly here—simply paint, dry, soak, and assemble as usual .
Tips
- Dip the tips of each pinecone in white or silver acrylic paint
- Let dry completely before soaking in water
- This technique is subtle enough to look natural but festive enough for the holidays
11: Birdseed Pinecone Wreath
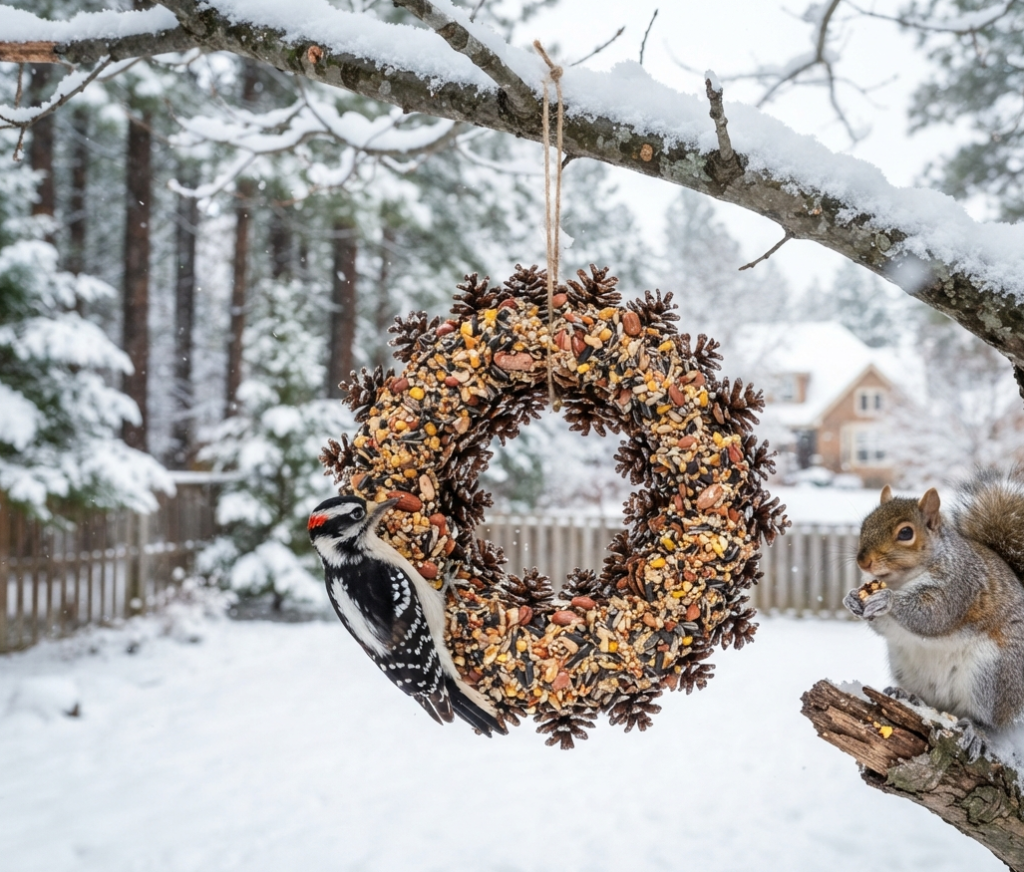
Create a wreath that’s as beautiful as it is generous to your feathered friends. Using the same no-glue, no-wire method, assemble a wreath on a 12-inch wire frame . Once it’s dry and secure, coat the entire wreath in peanut butter (using a butter knife to get it into the nooks and crannies), then roll it in wild bird seed . Hang it outside on a hook or tree branch and enjoy watching the birds feast .
Tips
- Place on a large sheet of foil while applying peanut butter to catch drips
- A 12-inch frame with about 35-40 pinecones works well for this project
- Woodpeckers and squirrels love this wreath expect visitors within minutes
12: Pinecone Flower Wreath

For a unique, artistic look, cut pinecones into sections to create “flowers.” Using pruning shears, cut a pinecone into 2 or 3 pieces the bottom resembles a zinnia, the middle looks like flower petals, and the top resembles a bud . You can paint these sections in vibrant colors (fall hues or bright florals) and arrange them around your wreath form, attaching them without glue using floral wire or the natural interlocking method .
Tips
- Cut pinecones with pruning or garden shears
- Paint the “flowers” in a variety of colors for a vibrant look
- Mix painted and unpainted sections for visual interest
13: Foraged Natural Elements Wreath

Combine pinecones with other foraged natural elements like dried pine needles, pine sticks, green moss, and fallen leaves . Use the same no-glue technique by tucking these elements into the wire frame or between pinecones as you build the wreath. The result is a beautifully layered, organic piece that celebrates the natural beauty of the season . This design is particularly lovely for a woodland-themed home.
Tips
- Gather pine needles, sticks, and moss from your yard
- Tuck materials into gaps as you assemble the wreath
- This creates a beautifully layered, natural look
14: Minimalist Modern Pinecone Wreath

For a clean, contemporary look, create a minimalist pinecone wreath using a single ring of cones around a wire frame. Instead of filling the entire form, place pinecones only on the outer ring, leaving the middle open for a modern, airy feel. This design uses fewer pinecones and creates a sleek, architectural look that works beautifully in minimalist and modern homes .
Tips
- Use only the outer ring of a 3-slot wire form for a minimalist look
- Choose uniform-sized cones for a cleaner aesthetic
- Add a simple, monochromatic ribbon for a modern finish
15: Scented Pinecone Wreath
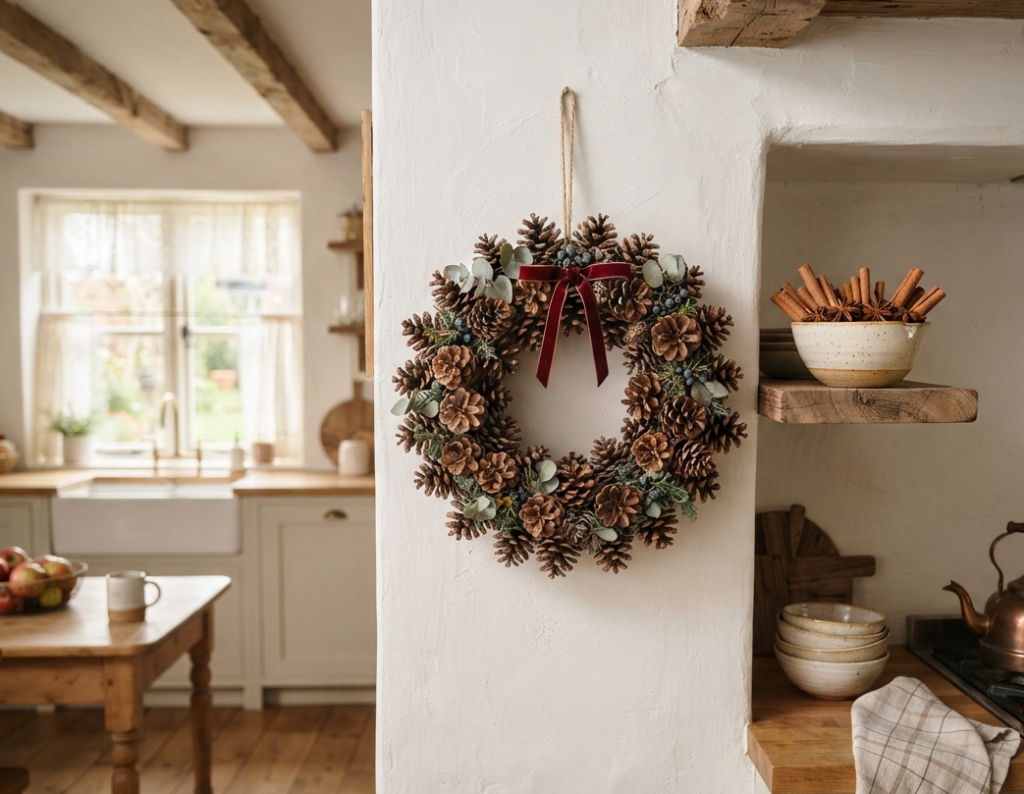
Pinecones can carry the scents of the season. For a fragrant wreath, add a few drops of cinnamon, vanilla, or pine essential oil to your dried pinecones before soaking them. You can also tuck dried cinnamon sticks into the wire frame as you assemble the wreath . The result is a natural, aromatic wreath that fills your home with the cozy scents of winter.
Tips
- Add essential oils to dried pinecones before soaking
- Tuck cinnamon sticks and star anise into the wire frame while assembling
- This creates a natural, homey scent that lasts
16: Outdoor Weather-Resistant Wreath
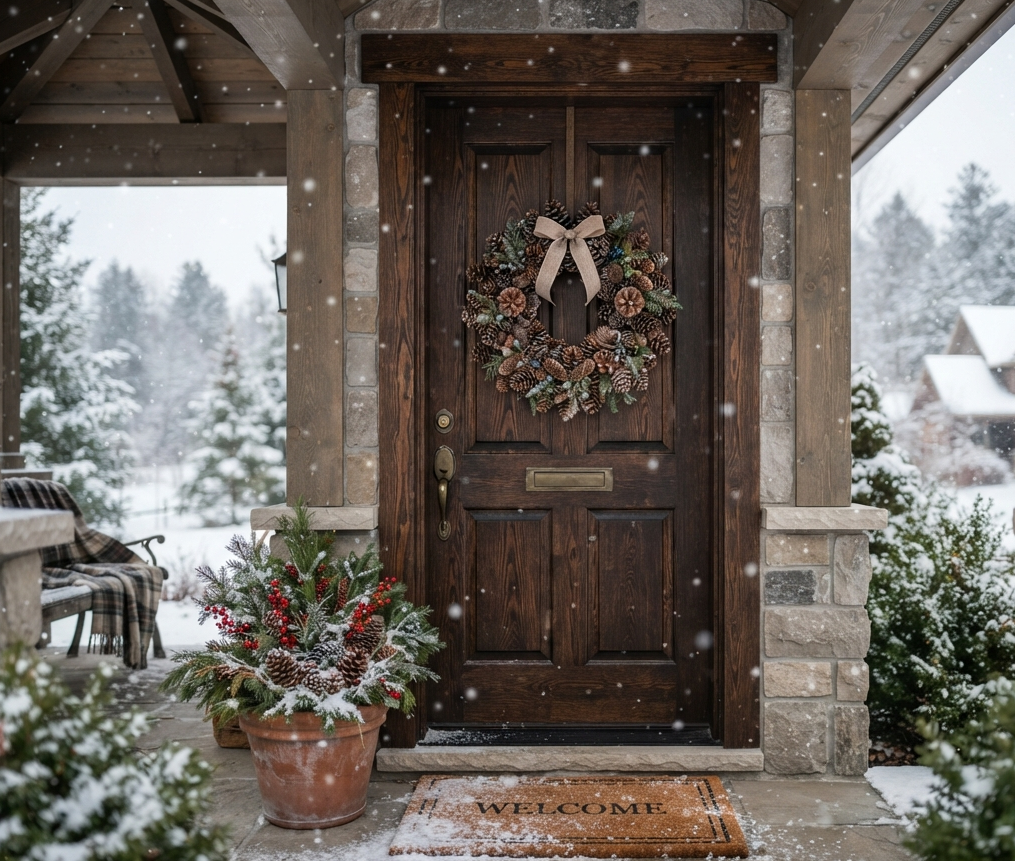
Pinecone wreaths can withstand outdoor conditions when made with natural pinecones and a wire frame . The wire form is naturally weatherproof, and dried pinecones hold up well in rain and snow—they will simply open and close with humidity changes. Just be aware that some fresh greens may need replacing each season . This is a wonderful option for front door displays.
Tips
- Natural pinecones are weather-tolerant and can be left outside
- Wreaths on front doors may need minor repairs after severe weather
- This is a great option for a front door or covered porch
17: Reusable and Year-Round Design
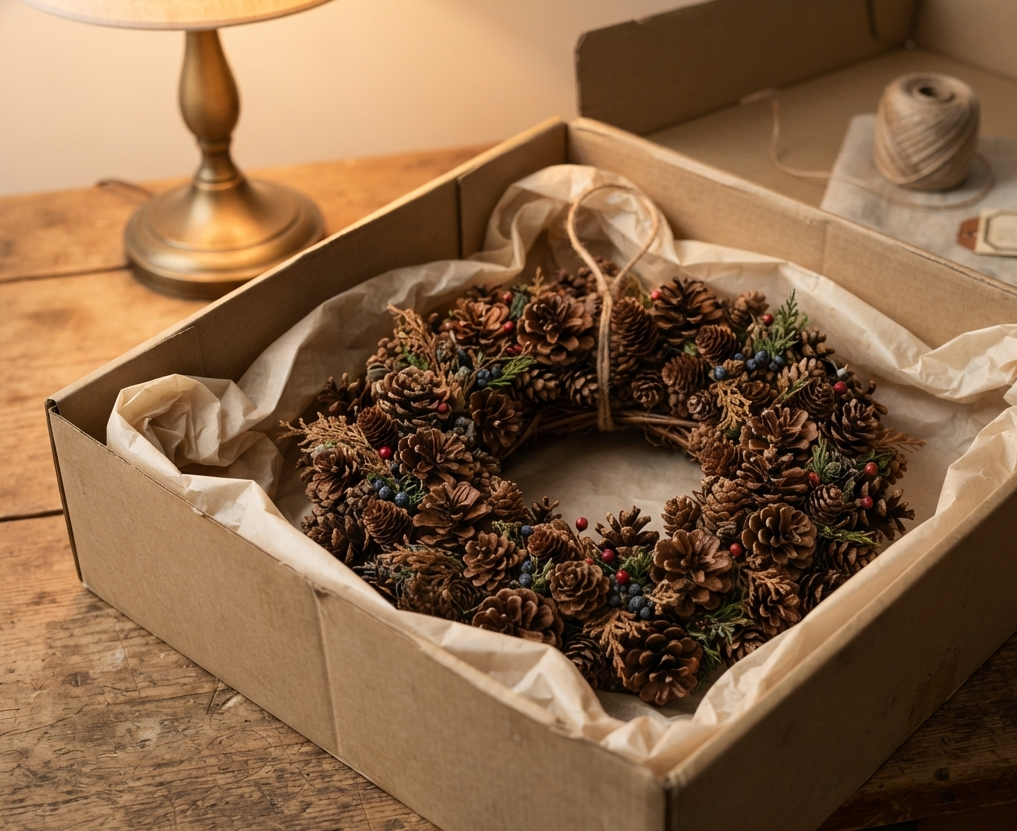
One of the best features of a no-glue, no-wire pinecone wreath is its reusability. Because it’s assembled without adhesive, you can easily disassemble and reuse the pinecones for future projects . The wire form is also reusable. Store your wreath in a cool, dry place over the off-season, and it will last for years. Simply refresh the look with a new ribbon or embellishments each year .
Tips
- Store the wreath in a dry, cool place to prevent mildew
- The structure can be reused year after year with only minor updates
- Replace ribbons or add new decorations for a fresh look each holiday season
Conclusion
Creating a pinecone wreath without glue or wire is not only possible it’s incredibly satisfying. The water-soaking technique is a brilliant, natural way to build a sturdy, long-lasting wreath that requires no hot glue burns, no tangled wire, and almost no cleanup . Whether you choose the classic all-natural look, a glam painted design, or a creative pinecone flower wreath, the process is beginner-friendly and budget-conscious. So, gather your pinecones, a wire wreath form, and a pail of water and let nature do the rest. Happy crafting.
FAQs
Do I need to clean and bake pinecones before making a wreath?
Yes, especially if you foraged them from outside. Pinecones are home to small insects and dirt. The easiest way to clean them is to bake them at a low temperature (around 170°F) for 45-60 minutes after drying them out . This ensures you don’t bring unwanted critters into your home.
How many pinecones do I need for a no-glue, no-wire wreath?
For a standard 12-inch wire wreath form with 3 rings, you’ll need approximately 100-110 pinecones, depending on their size . It’s always best to gather or buy extra just in case. Sorting them into small, medium, and large piles before starting will make assembly much easier .
How long will a pinecone wreath last?
A natural pinecone wreath, when properly stored in a cool, dry place, can last for years . The pinecones will hold up beautifully over time. If you’ve added fresh greens, they will need to be replaced each season, but the pinecone structure itself is very durable .
Can I add decorations to a no-glue, no-wire wreath?
Absolutely. Once the wreath is dry and secure, you can add a ribbon bow by tying it directly onto the wire frame . You can also tuck in fresh or faux greenery, berries, or small ornaments into the gaps between the pinecones—no glue or wire needed .
Can I hang this wreath outdoors?
Yes! A pinecone wreath made with a wire frame and natural pinecones can be hung outside . Natural pinecones are weather-tolerant and will react to humidity by opening and closing their scales. Just keep in mind that fresh greens may not hold up as well outdoors and may need to be replaced .