14 Walk-In Pantry Design & Organization Ideas
We all dream of a kitchen where everything has its place. But reality often looks like cluttered counters, overflowing cabinets, and that one drawer you’re afraid to open. The solution? A well-designed walk-in pantry. It’s not just for mansion owners anymore. With smart planning, even a small closet can become a functional, beautiful storage powerhouse. In this guide, you’ll get 14 creative walk-in pantry design and organization ideas from budget-friendly DIY hacks to luxury finishes. Each idea comes with practical tips. Let’s turn your pantry into the kitchen’s best feature.
1: Floor-to-Ceiling Open Shelving
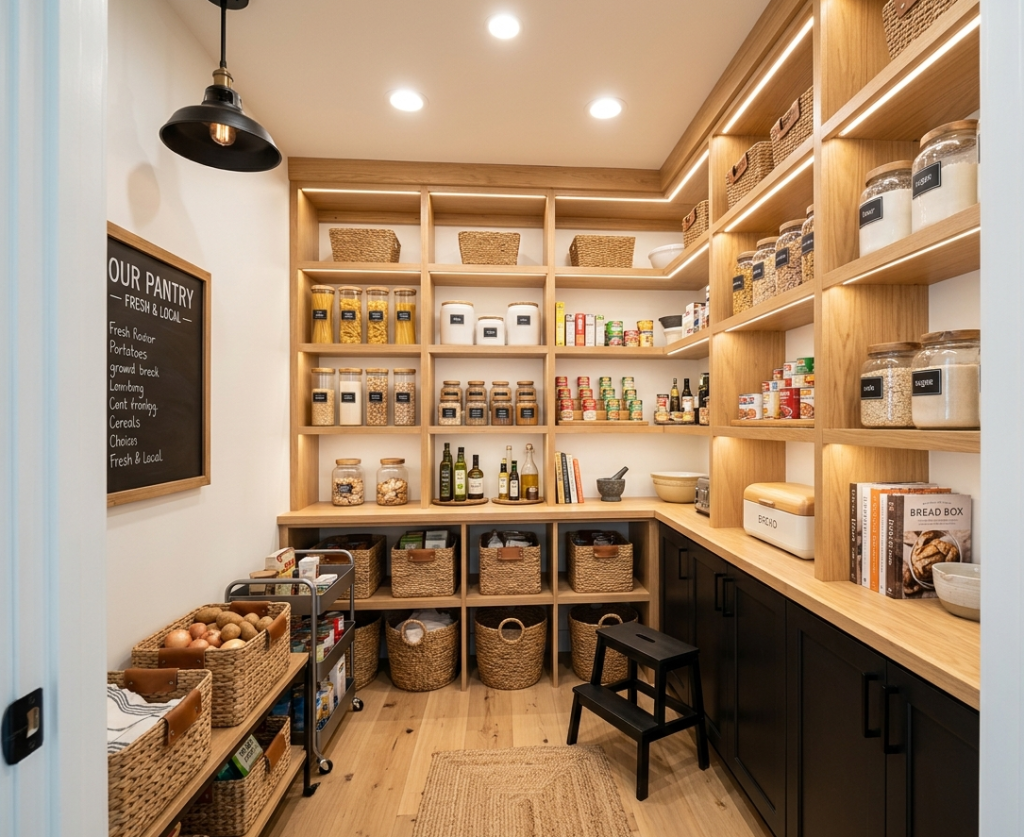
Maximize every inch by installing shelves that run from the floor to the ceiling. This design eliminates wasted space above and below standard cabinets. Use the lower shelves for heavy cans and bulk items, middle shelves for daily staples, and the top for seasonal or decorative pieces like glass jars and ceramic canisters. The open look also encourages you to keep things tidy because everything is visible.
Tips
- Adjust shelf heights so tall cereal boxes and small spice jars each have a perfect spot.
- Use matching baskets on top shelves to hide less attractive bulk buys.
- Label every shelf zone with a small chalkboard tag.
2: Pull-Out Drawers Instead of Deep Shelves

Deep pantry shelves often become “black holes” where food expires unseen. Swap them for full extension pull-out drawers. These allow you to see every single item at a glance. Use shallow drawers for spices and seasoning packets, medium drawers for canned goods, and deep drawers for bulk flour, rice, or even small appliances. The rolling mechanism makes heavy lifting easy on your back too.
Tips
- Install soft-close glides for quiet, smooth operation.
- Add non-slip liners to keep items from sliding.
- Label drawer fronts with waterproof vinyl labels.
3: Dedicated Coffee or Beverage Station
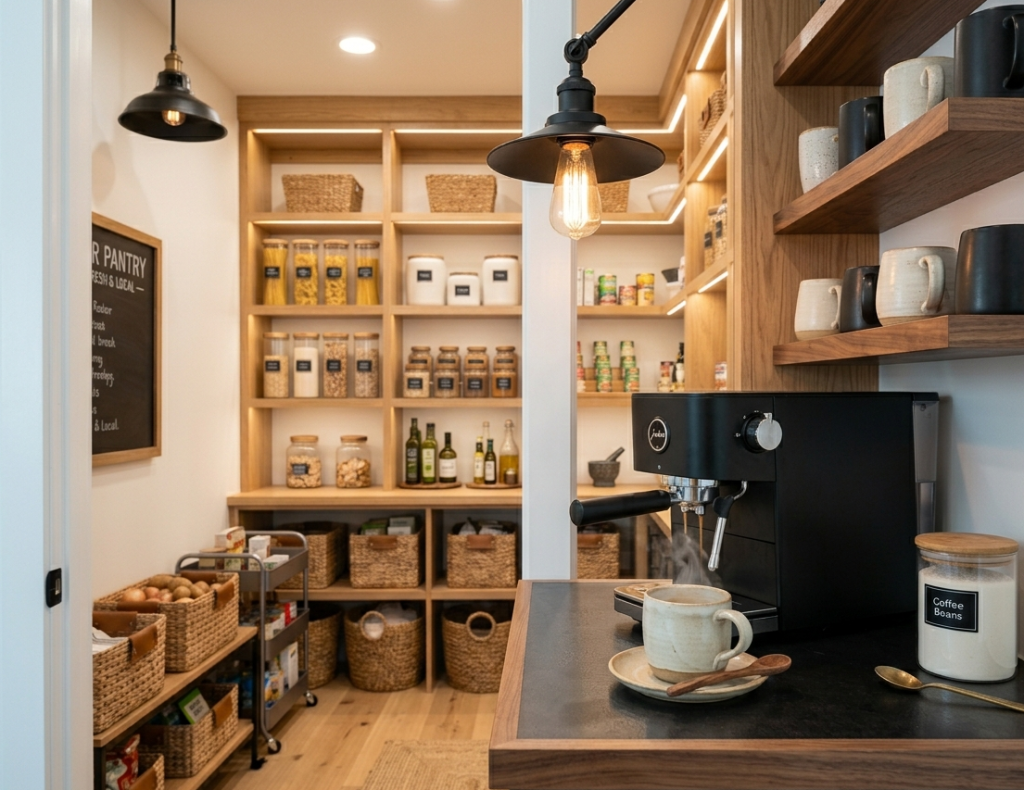
Turn a corner of your walk-in pantry into a mini coffee shop. Install a countertop at the perfect height for your espresso machine, grinder, and kettle. Above, add a mug rack or open shelf. Below, pull-out drawers hold coffee beans, syrups, and pods. This keeps morning chaos out of the main kitchen and creates a fun ritual. Bonus: add a small under-counter fridge for milk and creamers.
Tips
- Install a GFCI outlet right at counter height.
- Use a small waterproof mat under the coffee machine.
- Hang a tiny shelf for syrups and sweeteners.
4: Clear Glass Jars with Labels
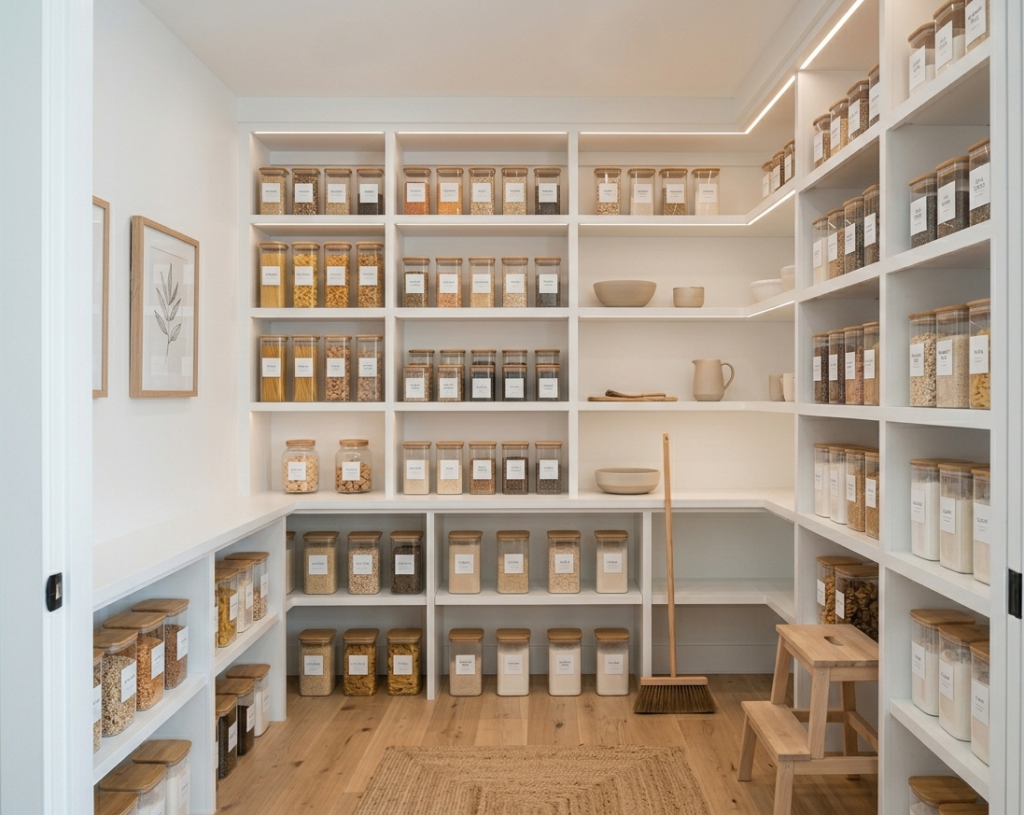
Nothing looks more organized than rows of uniform clear jars. Transfer pasta, rice, flour, sugar, nuts, and snacks from plastic bags into glass containers with airtight lids. Use a label maker or chalkboard labels to identify contents and expiration dates. This not only looks beautiful but also keeps food fresher longer and prevents pantry moths. Arrange jars by category or color for extra visual appeal.
Tips
- Buy jars in the same shape and size for a cohesive look.
- Keep a small funnel nearby for mess-free refills.
- Place the most-used jars at eye level.
5: Sliding Barn Door for Tight Spaces
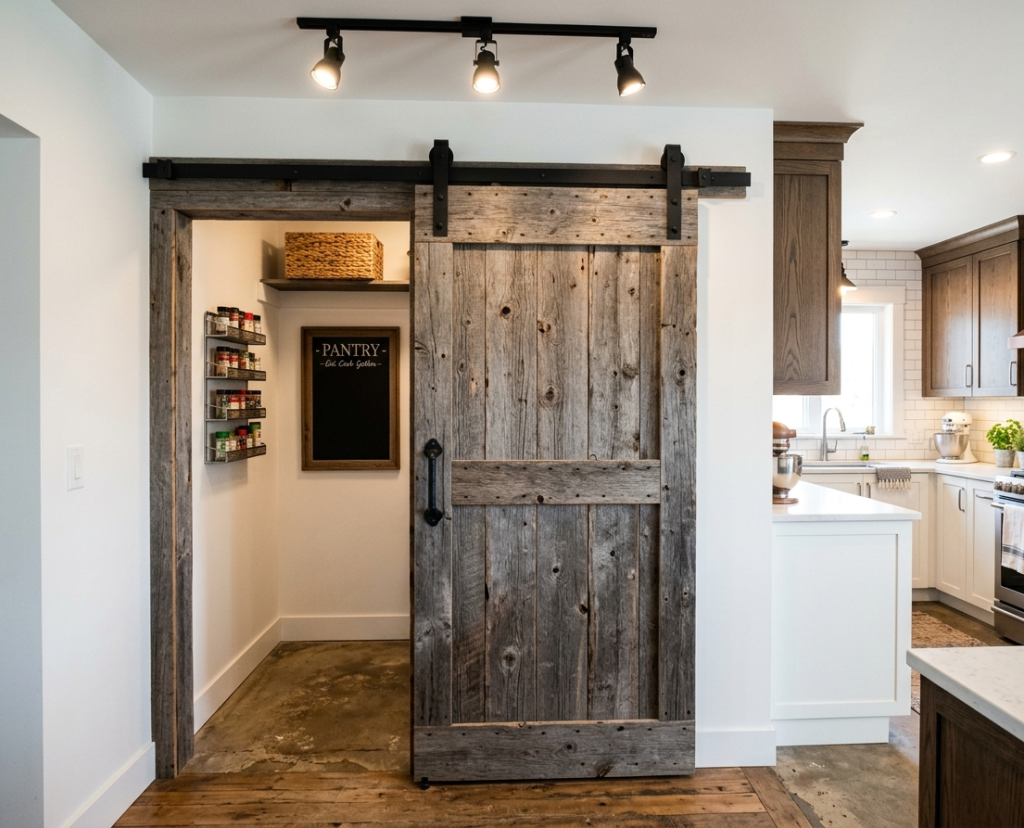
If your pantry is narrow or awkwardly shaped, a swinging door eats up valuable floor space. Install a sliding barn door on a track instead. It glides along the wall and leaves the entire interior free for storage. Choose a door with glass panels to make the space feel larger, or go with solid wood for a rustic statement. The track itself can be a decorative hardware feature.
Tips
- Ensure the wall beside the pantry is long enough for the door to fully clear the opening.
- Use a soft-close mechanism to prevent slamming.
- Match the door finish to your kitchen cabinet hardware.
6: Adjustable Metal Wire Shelving

For the ultimate flexible solution, install commercial-grade metal wire shelving. The perforated surface allows air to circulate, which is great for potatoes and onions. More importantly, the shelves adjust in one-inch increments. As your needs change say you buy a giant air fryer or start canning you can reconfigure the whole pantry in minutes. It’s also very budget-friendly.
Tips
- Add clear plastic bins to prevent small items from falling through the wire gaps.
- Use S-hooks to hang lightweight baskets or aprons from the shelf edges.
- Choose chrome or white to reflect light and keep the pantry bright.
7: Built-In Wine Rack and Bar

Combine pantry storage with a home bar. Dedicate one narrow section of the pantry to a diamond-shaped wine rack. Above it, install a stemware hanging rail. Below, add a small counter for bottle openers, decanters, and cocktail tools. A mini fridge or wine cooler fits perfectly underneath. This keeps your entertaining essentials separate from everyday groceries and makes hosting a breeze.
Tips
- Angle wine bottles with necks facing down to keep corks moist.
- Add dimmable LED strip lights to highlight the bottles.
- Store cocktail bitters and syrups in small labeled bottles on a tray.
8: Over-the-Door Spice and Condiment Racks

The back of your pantry door is prime real estate. Install a clear over-the-door rack with multiple tiers. Use it for spice jars, small condiments, oil bottles, or even snack packs. This clears shelf space for larger items. Choose a rack with a sturdy metal frame and adjustable shelves. Make sure the door can still close fully without hitting the pantry contents.
Tips
- Sort spices alphabetically for quick finding.
- Use small labels on bottle tops, not just sides, for an overhead view.
- Leave the bottom tier empty to avoid bumping items when closing.
9: Charging Station for Small Appliances
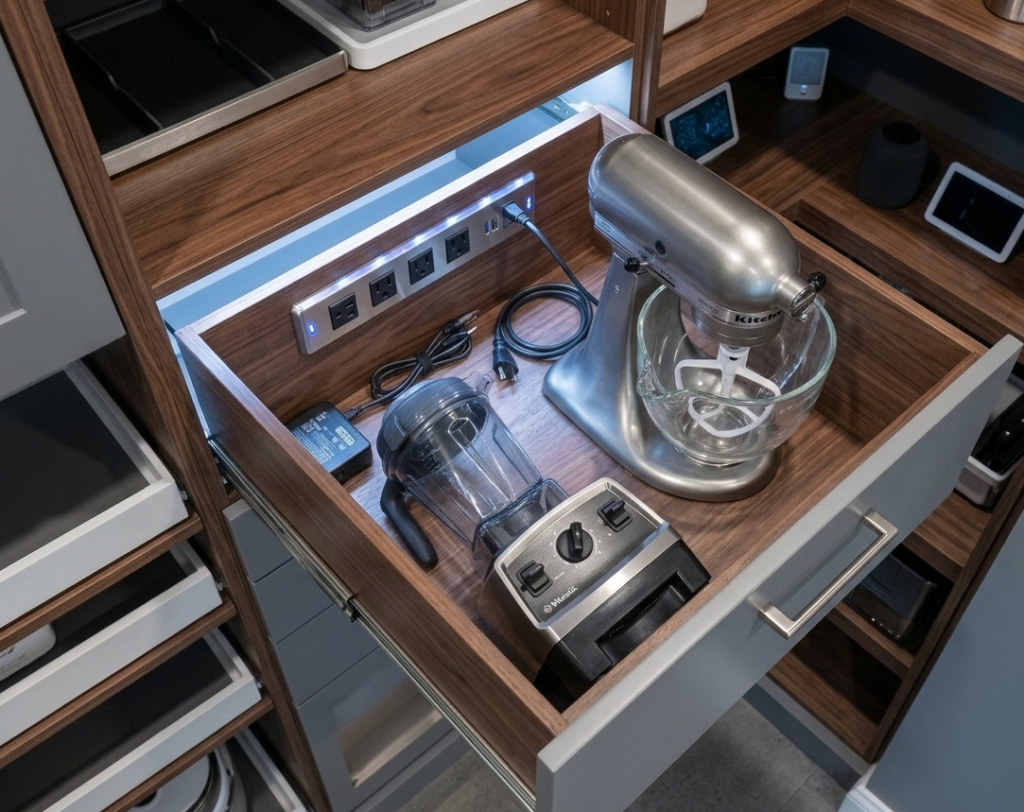
Modern pantries can double as appliance garages. Designate a low shelf or drawer with built-in power outlets. Store your stand mixer, blender, Instant Pot, or vacuum sealer here. Plug them in directly so they’re always ready to use. Install a smart power strip that turns off when not in use to save energy. This keeps countertops clear but appliances accessible.
Tips
- Cut a small hole in the back of the drawer or shelf for cord routing.
- Use a surge protector rated for kitchen appliances.
- Label each cord with a bread tag so you know what’s what.
10: Aisle-Like Layout for Two People
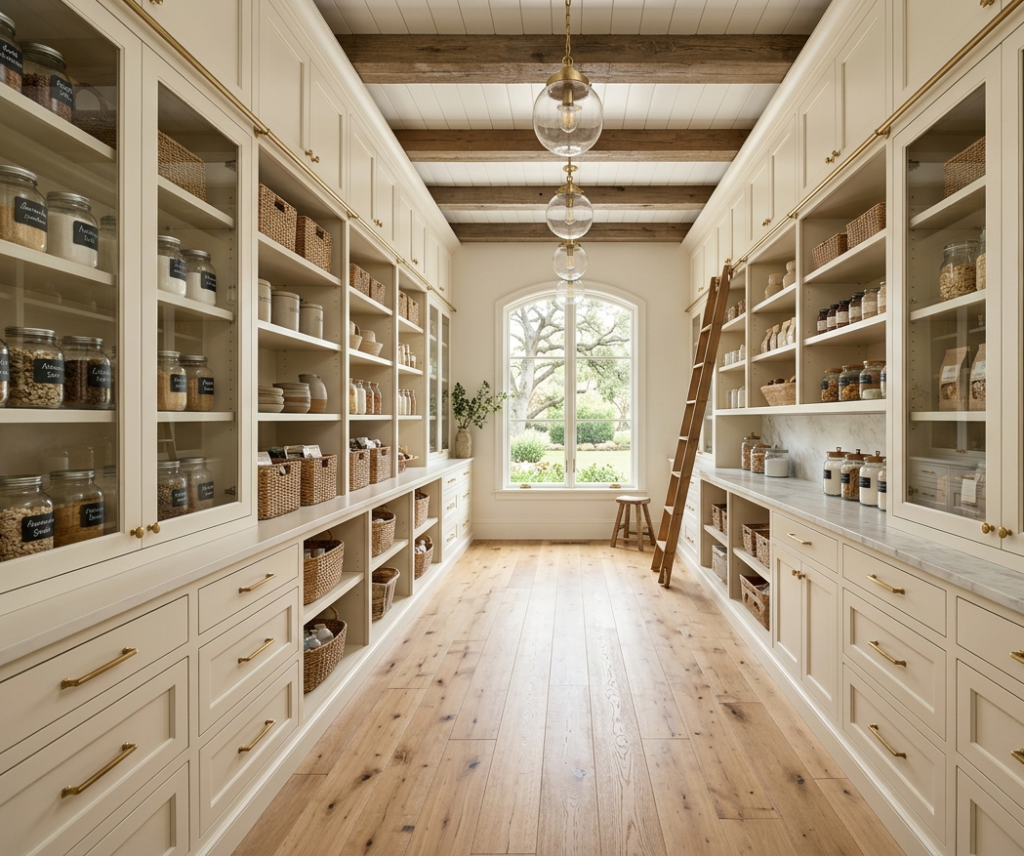
If you have a larger space, create an aisle that two people can comfortably pass through (at least 4 feet wide). Line both sides with floor-to-ceiling storage. One side can hold dry goods, the other small appliances and cleaning supplies. This galley-style layout feels like a tiny high-end grocery store and makes grabbing ingredients a breeze. Add a small rolling ladder if ceiling height exceeds 8 feet.
Tips
- Place frequently used items on both sides at arm height.
- Add a narrow bench or pull-out step stool for reaching high shelves.
- Install motion-sensor lights that turn on when you enter.
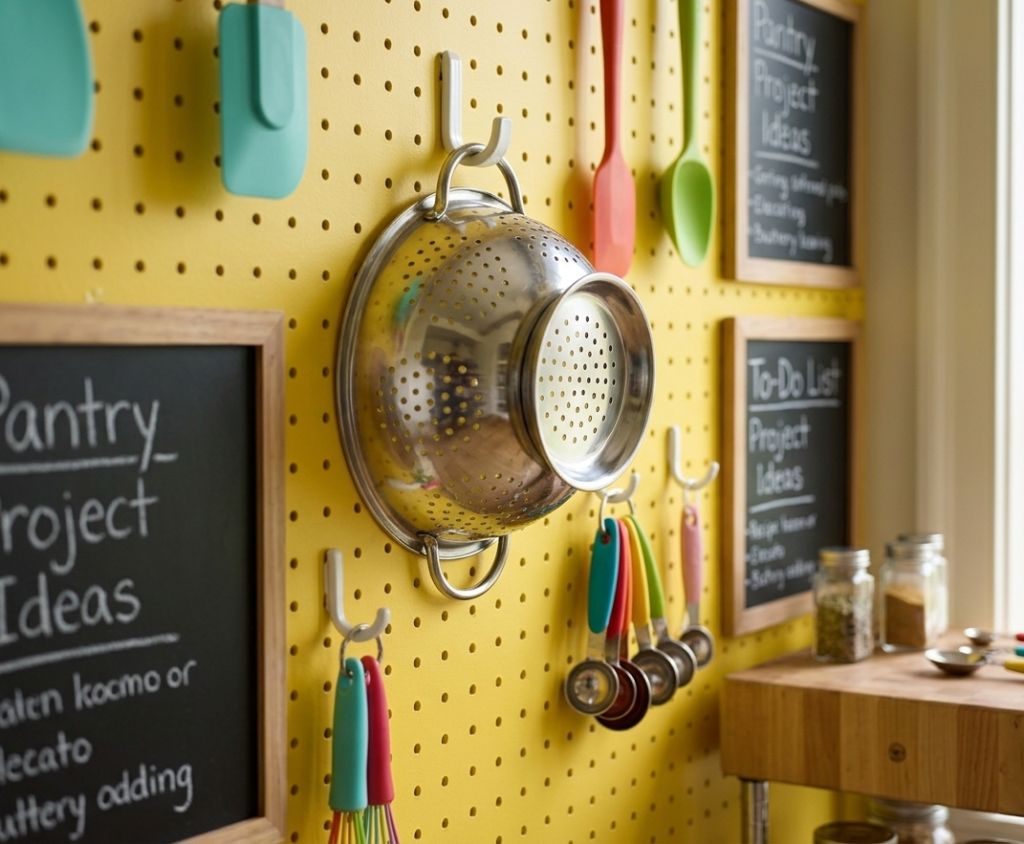
11: Pegboard Wall for Hanging Tools
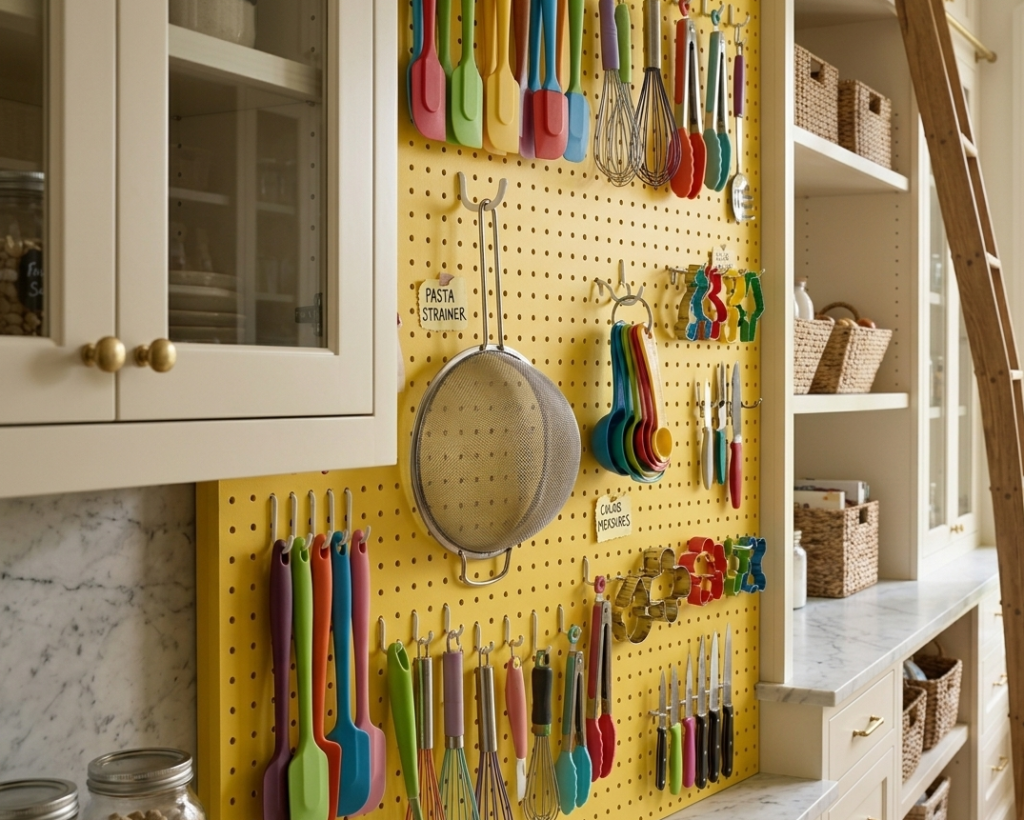
One wall of your pantry can become a flexible tool station. Install a large pegboard (painted to match your walls or in a fun color). Use hooks, small shelves, and baskets to hang measuring cups, colanders, aprons, oven mitts, and even lightweight pots. This gets bulky items off shelves and makes them instantly visible. Reconfigure the layout anytime your cookware collection changes.
Tips
- Use pegboard locking clips so hooks stay put when you grab items.
- Trace tool outlines on the board to show where each item belongs.
- Install a small shelf on the pegboard for spice tins or recipe cards.
12: Smart Lighting with Motion Sensors
Great organization means nothing if you can’t see it. Install motion-sensor LED strip lights along every shelf’s front edge. When you open the pantry door, soft light illuminates every corner automatically. You can also add under-cabinet lighting and inside-drawer lights that trigger when pulled open. Choose warm-white bulbs (2700K-3000K) to make food look appetizing, not clinical.
Tips
- Place a motion sensor near the floor to catch leg movement.
- Connect lights to a smart home system for dimming schedules.
- Use battery-powered puck lights if you can’t wire into walls.
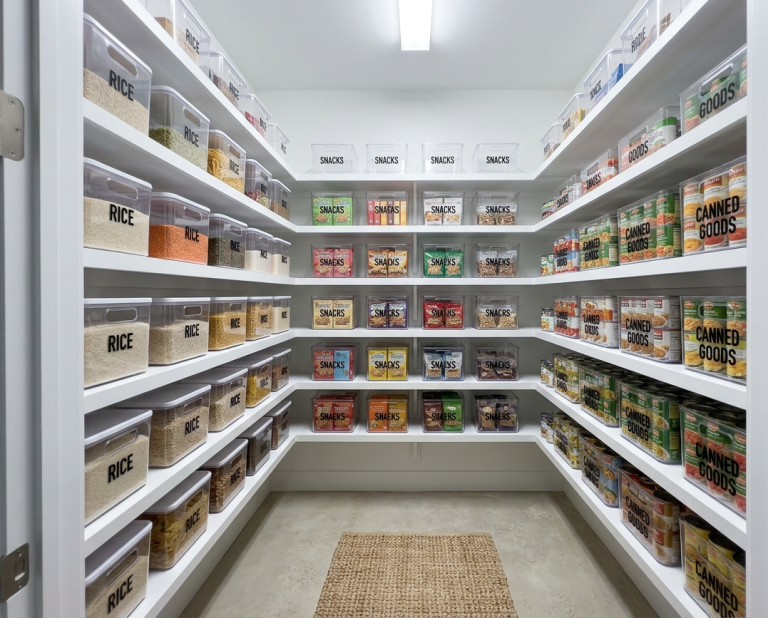
13: Labeled Zones with Color Coding

Divide your pantry into functional zones: Baking, Breakfast, Canned Goods, Snacks, Oils & Vinegars, and Pet Food. Use colored labels or colored bins to make each zone instantly recognizable. For example, blue for breakfast, green for vegetables, red for sauces. This system works great for families—even kids can put groceries away correctly. Re-evaluate zones every season as your eating habits change.
Tips
- Use a label maker with colored tape for a clean look.
- Attach zone signs to the front edge of each shelf.
- Keep a laminated zone map inside the pantry door for reference.
14: Rolling Carts for Flexible Storage
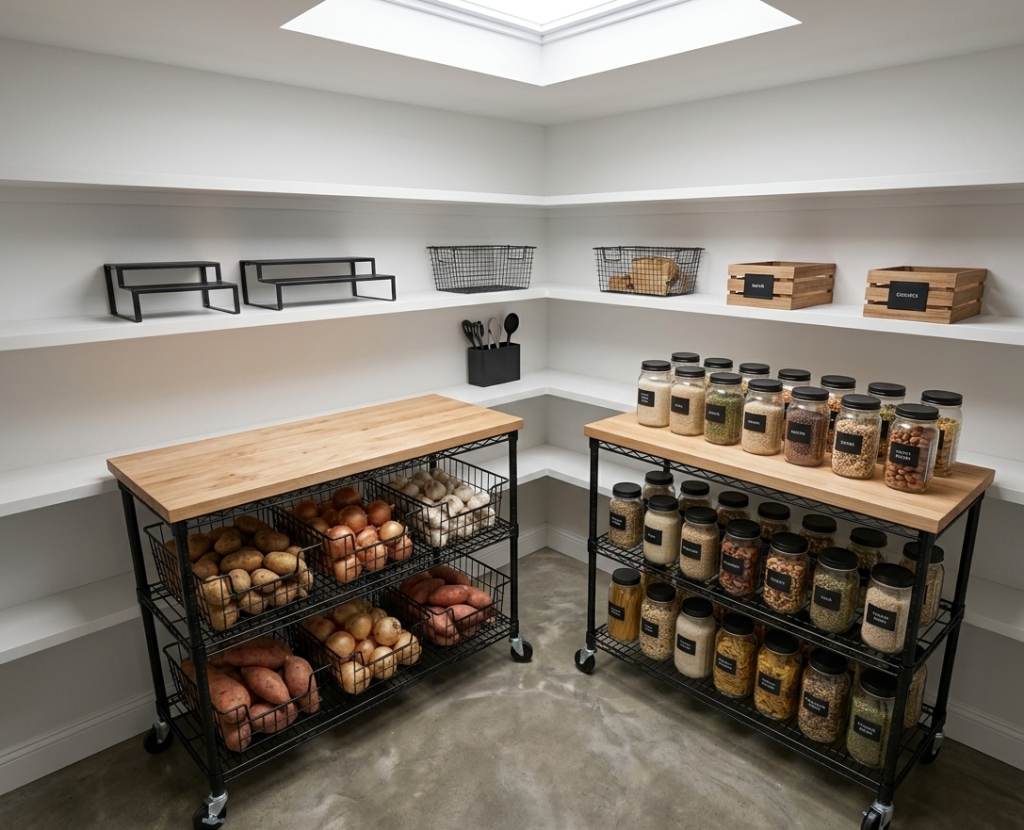
Not every pantry needs fixed shelves. Use one or two rolling metal utility carts. These can hold heavy items like potato sacks, drink cases, or oversized pots. Roll them out when you need access, then tuck them back. They’re also great for temporary prep load a cart with ingredients for a big cooking session and wheel it right to your kitchen counter. Choose carts with locking wheels for safety.
Tips
- Use a cart with a butcher block top as extra prep space.
- Add hanging baskets to the cart’s sides for utensils.
- Keep one cart for “use first” near-expiration items.
Conclusion
Your walk-in pantry can be more than just a dark closet stuffed with canned beans. With these 14 design and organization ideas from floor-to-ceiling shelving and pull-out drawers to coffee stations and rolling carts you can transform it into a beautiful, functional space you’ll actually enjoy using. Pick two or three ideas that fit your budget and kitchen layout. Start small with clear jars and labels, then build up to smart lighting or a barn door. Your future self will thank you every time you cook a meal without rummaging. Ready to start? Grab a notebook and sketch your dream pantry today!
FAQs
How much does it cost to build a walk-in pantry?
A basic DIY pantry using wire shelving can cost 200–500. A mid-range renovation with custom wood shelves and lighting runs 1,500 4,000. High-end designs with built-in cabinetry, stone counters, and professional installation can exceed $10,000. The size of your space and materials chosen are the biggest factors.
What is the ideal walk-in pantry size?
The minimum comfortable size is 5 feet by 5 feet (25 square feet). This allows shelving on two walls with a small walkway. A family of four typically needs 35–50 square feet. For a true galley layout with two people passing, aim for at least 4 feet wide by 7 feet long.
How do I keep my walk-in pantry pest-free?
Store all dry goods in airtight glass or heavy plastic containers. Never leave food in cardboard or paper bags. Install door sweeps to seal gaps. Place bay leaves on shelves they repel moths naturally. Clean crumbs immediately. Inspect bulk items like flour and rice before storing. If you see any signs of pests, empty the entire pantry and sanitize with vinegar.