19 Tips for Creating a Dual-Purpose Dining Room and Home school Classroom
When your dining room table doubles as a homeschool desk, the line between mealtime and math time can get blurry—and messy. You’re not alone if you feel like your home has been taken over by textbooks, glue sticks, and forgotten water bottles. But what if you could have a space that works beautifully for both family dinners and focused learning? With the right strategies, your dining room can seamlessly transition from a classroom during the day to an elegant entertaining space at night. No more clearing piles of papers before dinner or hiding school supplies in the laundry room. These 19 tips will help you create a dual-purpose dining room and homeschool classroom that’s functional, organized, and actually enjoyable to spend time in. Let’s turn that dining room into the multipurpose space your family needs.
1: Choose a Durable, Easy-to-Clean Table

Your dining table is the command center of both meals and lessons, so it needs to be tough. Choose a table with a durable, scratch-resistant surface that can handle everything from marker spills to hot casseroles. A table with a protective finish or a removable cover makes cleanup a breeze, while a sturdy construction ensures it can withstand the wear and tear of daily use.
Tips
- Consider a table with a laminate or sealed wood top
- Use a clear vinyl tablecloth or desk pad for added protection
- Choose a table shape that works for both group meals and individual study
2: Invest in Stackable Storage Solutions

When space is limited, stackable storage is your best friend. Stackable bins, crates, and organizers allow you to store school supplies vertically without taking up much floor space. During meals, you can easily move them to a corner or closet. During school hours, they’re accessible and keep everything tidy.
Tips
- Choose sturdy, colorful crates that are easy to carry
- Label each bin for quick identification
- Use a rolling cart for supplies you need daily
3: Use a Foldable or Expandable Table

If space is incredibly tight, consider a foldable or expandable table. During school hours, it provides ample workspace. For family dinners or entertaining, it expands to seat extra guests. When you need the floor space, it folds away entirely. This is a lifesaver for small homes or open-concept layouts.
Tips
- Look for tables with drop-leaf or butterfly leaf extensions
- Ensure the table is sturdy even when fully extended
- Store extra chairs in a closet when not in use
4: Create a Mobile Supply Station

A mobile supply station like a rolling cart or caddy keeps essentials within reach and easy to store. Fill it with pencils, markers, glue sticks, and notebooks. When it’s time for dinner, roll it into a closet, pantry, or corner. It’s the ultimate flexible storage solution.
Tips
- Use a tiered rolling cart for different subjects
- Add cups or jars for pens and pencils
- Keep a paper towel holder on the cart for messy cleanups
5: Install Wall-Mounted Storage
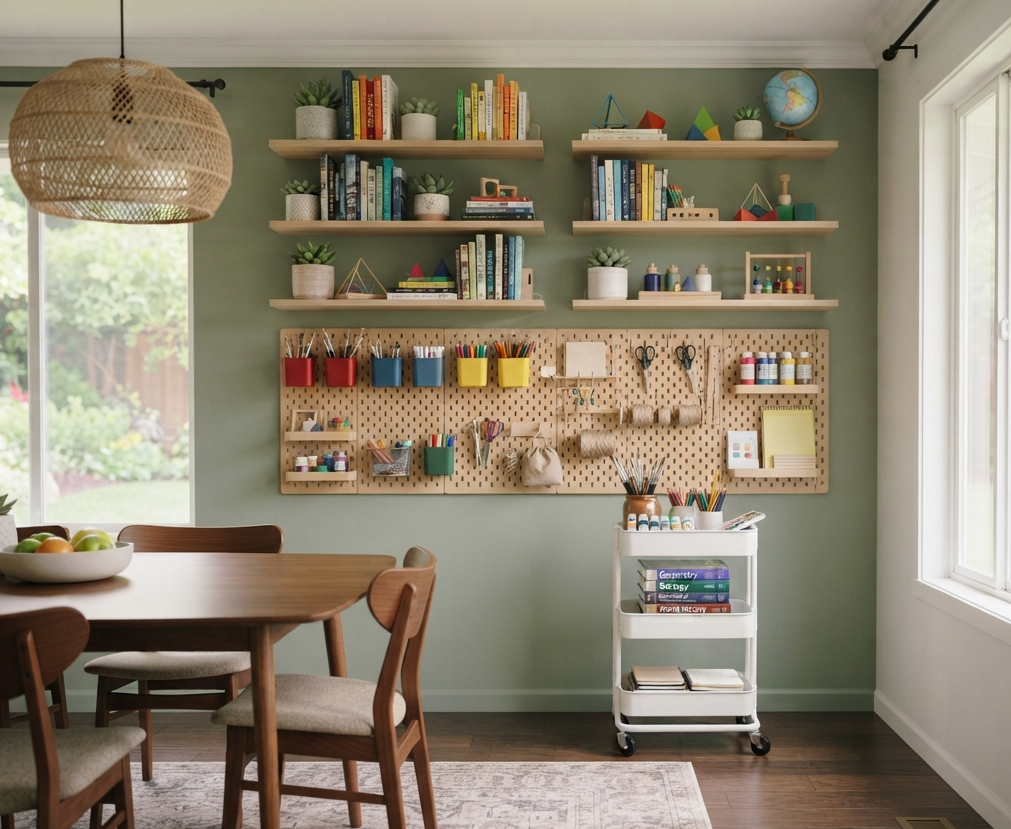
Maximize vertical space by installing wall-mounted shelves, pegboards, or rails. These hold books, supplies, and even hanging organizers for paper and files. Wall storage keeps clutter off the table and floor, making the room feel more spacious. Plus, you can customize it to match your decor.
Tips
- Install shelves at child height for independence
- Use pegboards with hooks for hanging supplies
- Add a rail system with small baskets for loose items
6: Use Clear Storage for Visibility

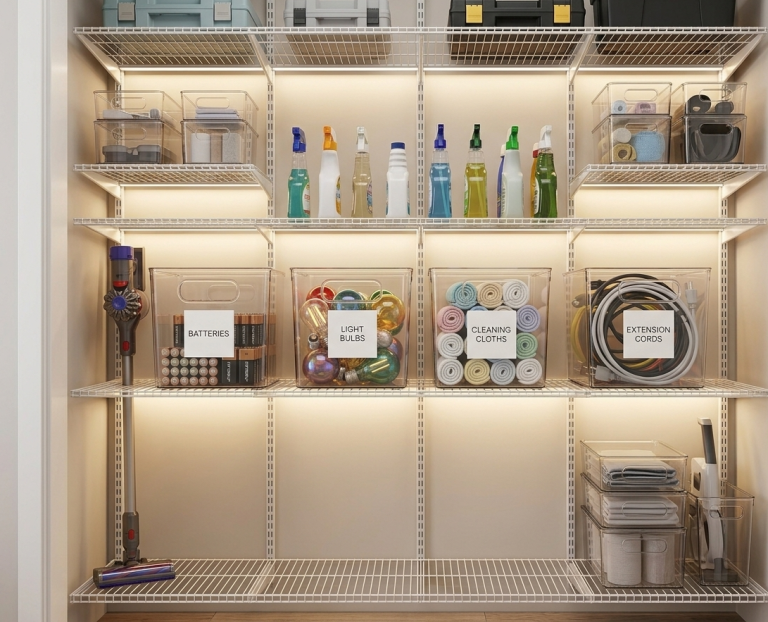
When you can see what’s inside a bin, you’re more likely to use it. Clear storage containers, jars, and bins make it easy to find supplies without digging . This also helps kids independently find and put away their materials, building responsibility and reducing your stress.
Tips
- Use clear jars for pencils, crayons, and markers
- Label each container for added clarity
- Group supplies by subject or activity
7: Designate Individual Work Bins
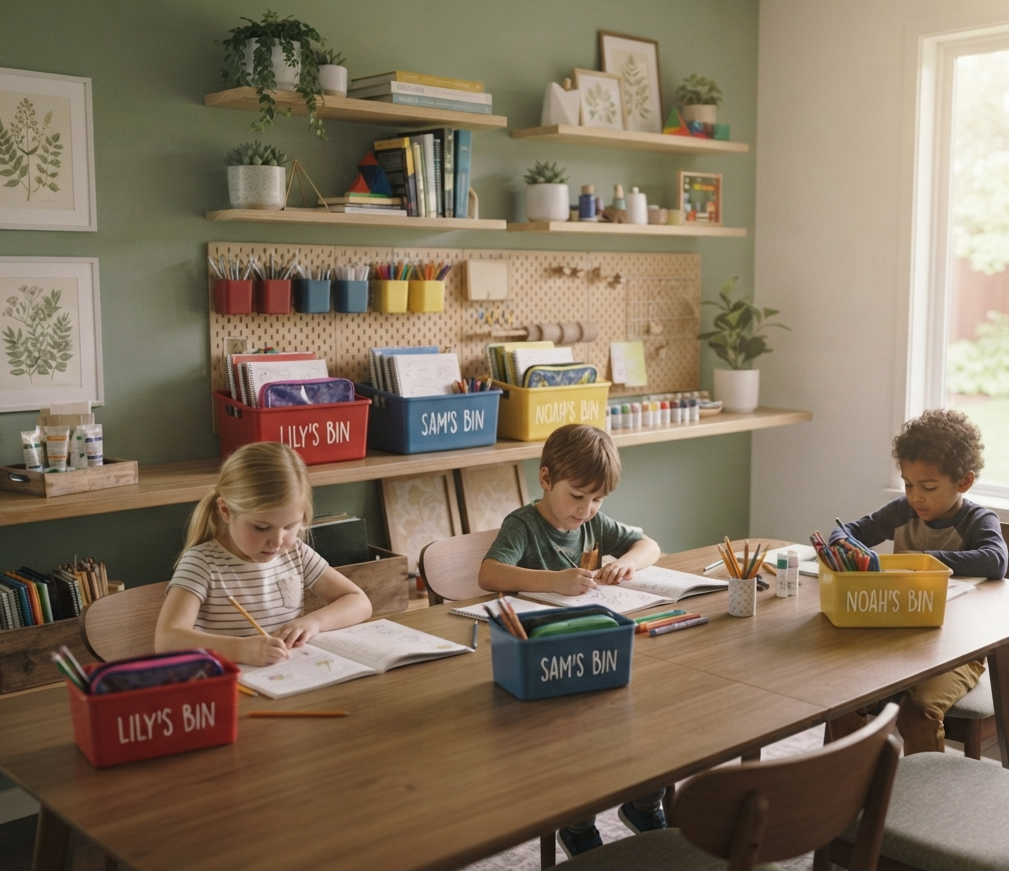
Each child deserves their own space. Create individual work bins or baskets for each student, filled with their daily materials workbooks, pencils, and personal supplies. This reduces sibling squabbles and keeps everyone’s work separate and organized. In the evening, simply tuck the bins away.
Tips
- Use different colors for each child’s bin
- Include a checklist of daily tasks in each bin
- Keep the bins near their seating spots
8: Incorporate a Mobile Whiteboard or Chalkboard

A mobile whiteboard or chalkboard is a game-changer for a homeschool classroom. Use it for lessons, math problems, spelling practice, and brainstorming. On wheels, it’s easy to move to the side for dinner or push into a corner. It adds a true classroom feel without permanently altering your space.
Tips
- Choose a double-sided board for versatility
- Use it for daily schedules or morning messages
- Add a marker tray for easy access
9: Use a Rug to Define the Space

A rug under the dining table helps define the learning zone and adds warmth. It visually separates the dining area from the rest of the room, signaling that this is a dedicated space for both meals and study. Choose a washable rug that can withstand spills from both dinner and glue projects.
Tips
- Choose a neutral rug that matches your decor
- Look for stain-resistant or washable materials
- Use a rug pad underneath for comfort and safety
10: Add Task Lighting for Focus
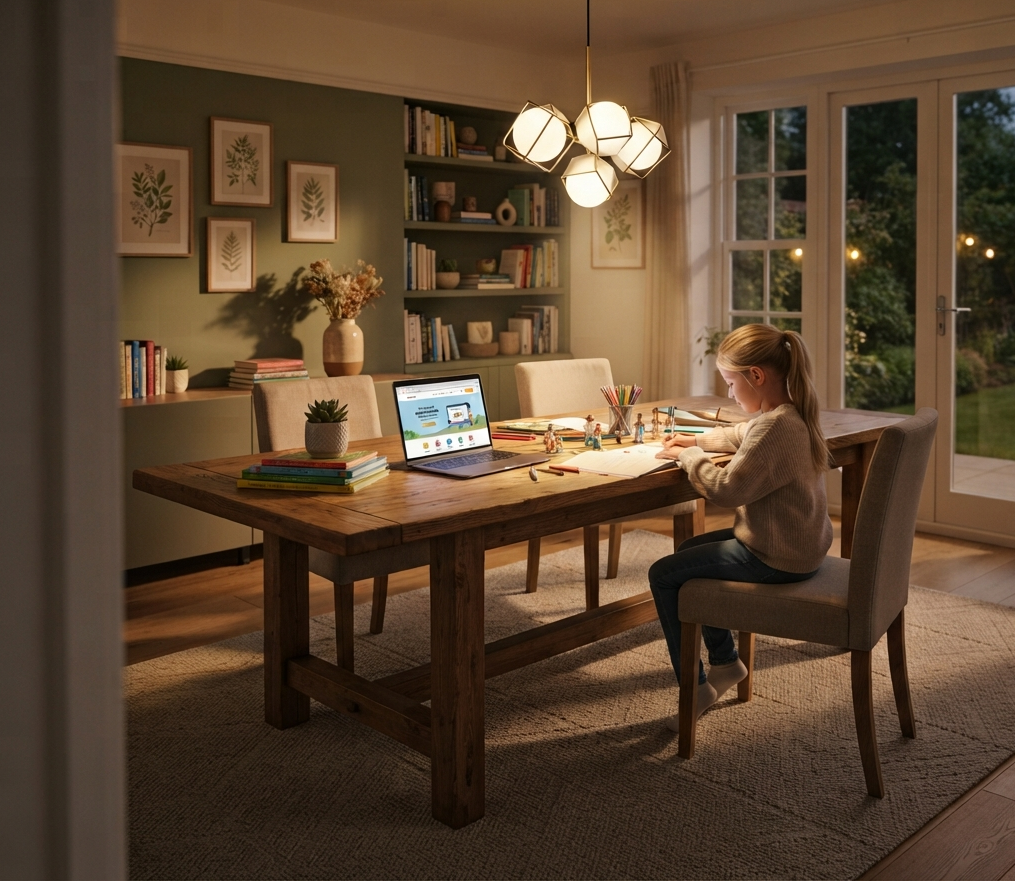
Good lighting is essential for both learning and dining. Add a stylish pendant light or adjustable floor lamp that provides focused task lighting for the table. Dimmer switches allow you to adjust the mood from bright study mode to warm dinner ambiance. Good lighting reduces eye strain and keeps everyone alert.
Tips
- Place a table lamp or floor lamp near the table
- Use daylight bulbs for true color representation
- Install a dimmer switch for flexibility
11: Store Art Supplies in a Rolling Caddy

Art supplies can be a mess, but a rolling caddy keeps them contained and portable. Fill it with markers, paints, brushes, and paper. When art time is over, roll it away. When it’s time to create, roll it right to the table. It’s a simple way to keep creativity organized and accessible.
Tips
- Choose a caddy with multiple compartments
- Use cups for paintbrushes and markers
- Keep it near the table for easy access
12: Use Cable Management to Tame Wires
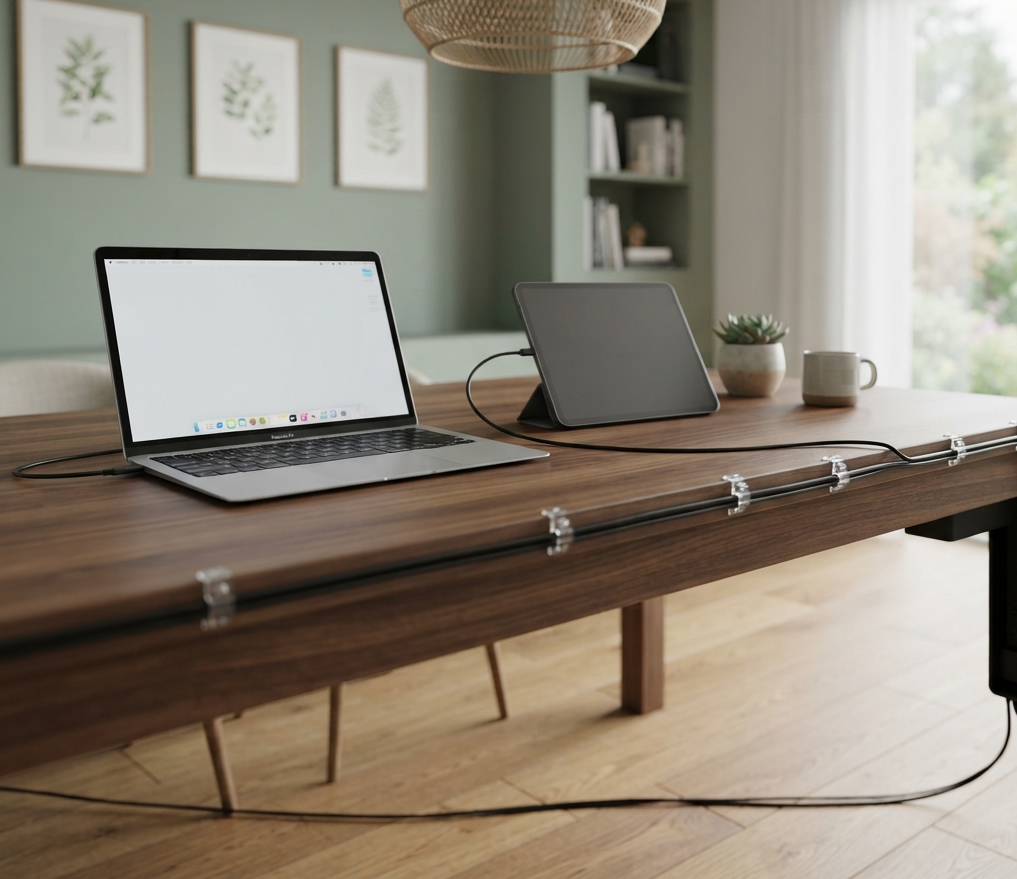
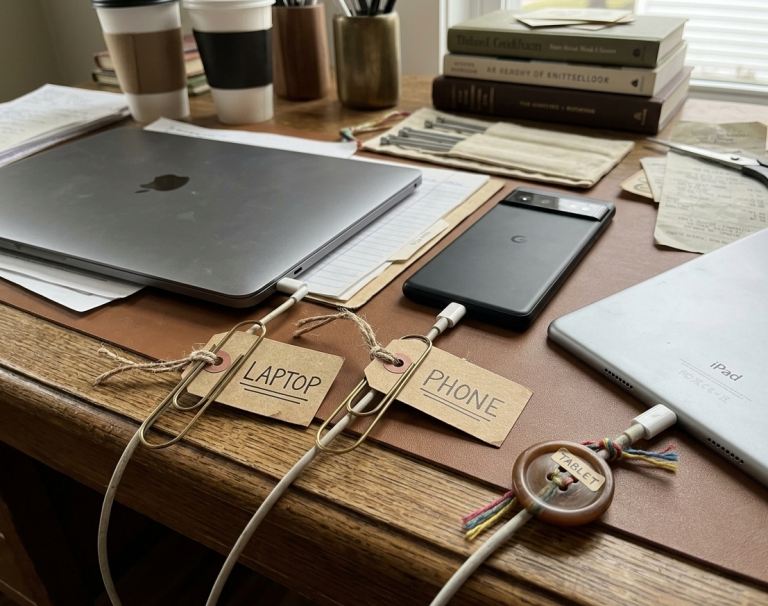
With laptops, tablets, and chargers, cables can quickly become a tangled mess. Use cable clips, sleeves, or a power strip with cord management to keep wires organized and off the floor. This prevents tripping hazards, keeps the space looking tidy, and makes switching from school to dinner mode seamless.
Tips
- Use adhesive cable clips along the table edge
- Bundle wires with reusable cable ties
- Place a power strip in a nearby cabinet or basket
13: Create a “School Closet” for Easy Storage
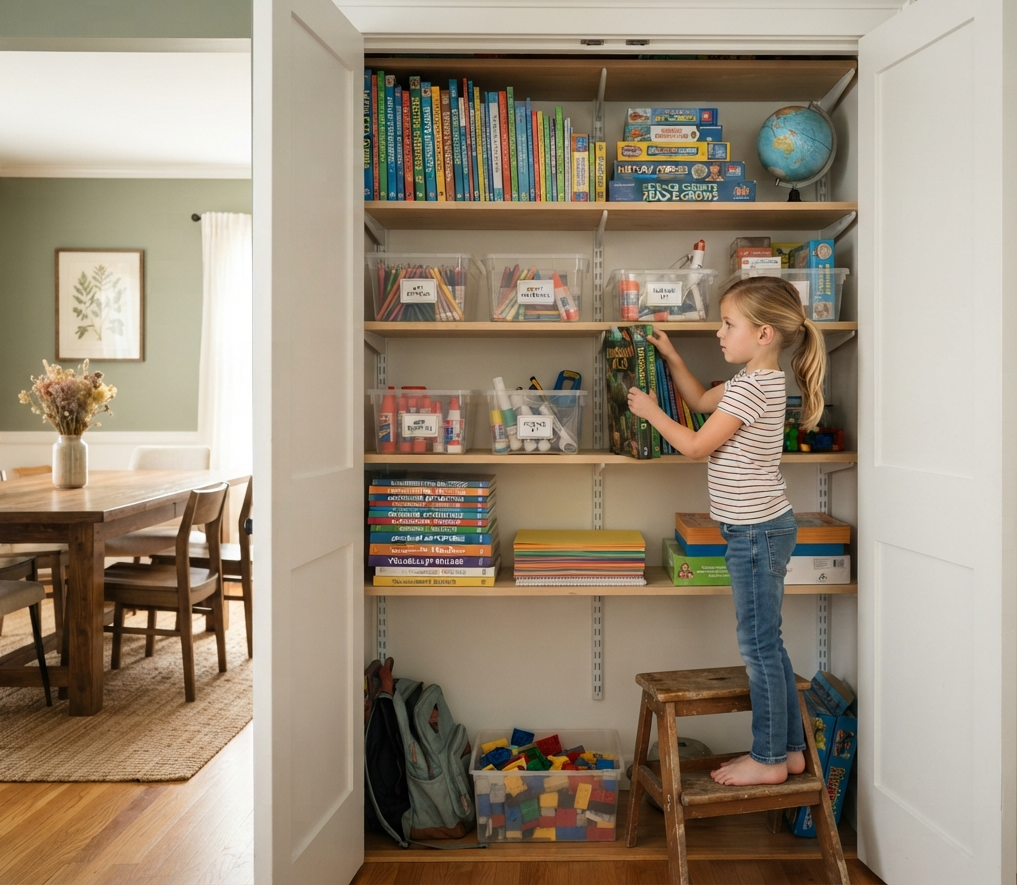
Designate a nearby closet or cabinet as your “school closet.” Store all homeschooling materials books, manipulatives, art supplies, and projects inside. When school is over, simply close the door. This instantly transforms the dining room from classroom back to elegant entertaining space.
Tips
- Install shelves inside the closet for vertical storage
- Use clear bins for easy identification
- Add a small desk inside the closet for a quiet work spot
14: Use Display Boards for Student Work
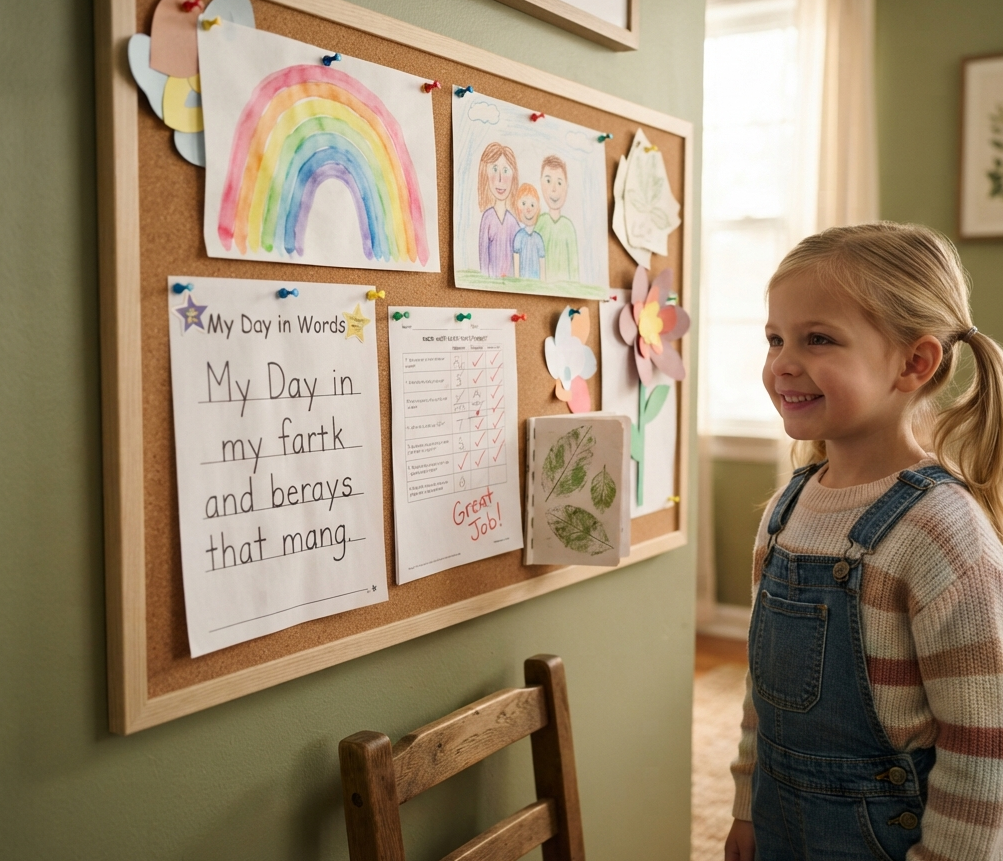
Celebrate your child’s work with a display board or clothesline gallery. This adds personality to the room and motivates your child. It also keeps artwork off the table and organized. Swap out pieces regularly to showcase new achievements.
Tips
- Use a corkboard or magnetic board for easy display
- Hang a simple clothesline with clothespins
- Create a rotating “artist of the week” display
15: Add a Comfortable Reading Nook

A quiet reading nook in the corner of your dining room encourages independent reading time. Add a comfy chair or floor cushions, a small bookshelf, and good lighting. It creates a cozy, inviting space where your child can retreat with a book between lessons or during free time.
Tips
- Place a small basket of books nearby
- Add a soft blanket for coziness
- Use a lamp with warm light for a snug feel
16: Use Binder Clips for Bulk Storage

Binder clips aren’t just for paper they’re brilliant for organizing bulk supplies. Use large binder clips to seal chip bags, organize cords, or create temporary file holders for loose papers. They’re cheap, versatile, and perfect for classroom-on-the-go.
Tips
- Clip notes or schedules to a laptop stand
- Use them for chip clips during snack time
- Clip papers together for each subject
17: Create a Visual Daily Schedule
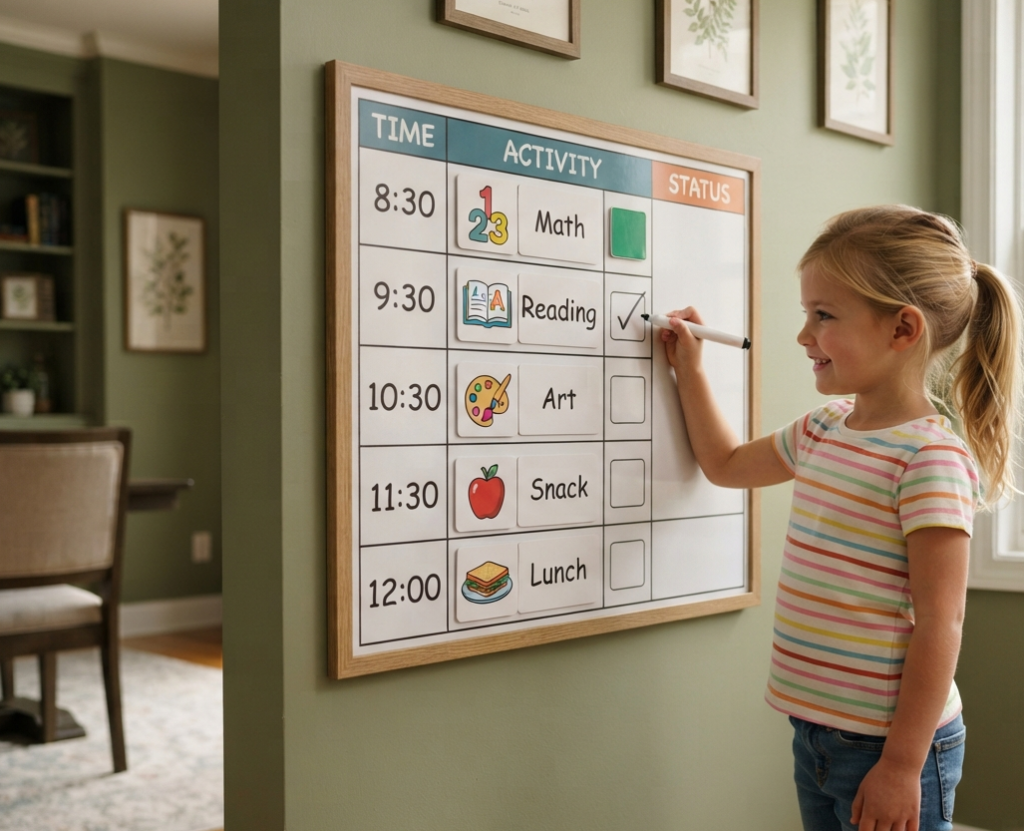
A visual daily schedule reduces anxiety and helps children know what to expect. Place it on the wall or on the whiteboard. Include pictures for non-readers. This simple tool builds independence and makes transitions smoother for everyone.
Tips
- Use magnets on a whiteboard for easy changes
- Include a check-off system for completed tasks
- Add fun icons for special subjects like art or science
18: Add Plants for a Calming Environment

Plants add life and calm to any room. In a dual-purpose space, they help reduce stress and improve focus. Place a small potted plant on the table or windowsill. Choose low-maintenance varieties like pothos or succulents. They purify the air and make the room feel fresh and inviting for both school and dinner.
Tips
- Use child-friendly, non-toxic plants
- Place plants away from the main work zone to avoid distraction
- Involve your child in watering and caring for the plants
19: Be Flexible and Reassess Regularly

The beauty of a dual-purpose room is its flexibility. Reassess your setup every few months. What’s working? What’s not? Involve your child in the conversation. As their needs change, adjust your storage, layout, and systems. Flexibility is the key to long-term success.
Tips
- Schedule a monthly “refresh” to reorganize
- Let your child choose new labels or storage
- Celebrate small wins and improvements together
Conclusion
Creating a dual-purpose dining room and homeschool classroom is entirely achievable with thoughtful planning and the right strategies. You don’t need a separate room or a massive renovation just a few smart changes. Start with a durable table, mobile storage, and clear systems. Add wall storage, individual work bins, and a visual schedule. Then, as you and your family grow, reassess and adjust. The result is a space that honors both family meals and focused learning, transitioning seamlessly from morning lessons to evening dinners. Your dining room can truly do it all.
FAQs
How do I separate school and dining in one room?
Use visual cues like a rug to define the space, mobile storage for supplies, and a designated school closet. Clear the table completely after school hours to signal the transition to dining mode.
What’s the best table for a homeschool dining room?
Choose a durable, easy-to-clean table with a scratch-resistant surface. Consider a foldable or expandable table if space is tight. A protective clear cover or vinyl tablecloth adds an extra layer of protection.
How do I store school supplies in a dining room?
Use rolling carts, stackable bins, and wall-mounted storage. Store daily essentials in accessible containers and use a closet or cabinet for bulk storage. Clear bins help kids find and return supplies independently.
Can a dining room really work as a homeschool classroom?
Absolutely. With the right organization and systems, a dining room can function beautifully for both purposes. The key is making the transition from school to dinner easy and quick using mobile storage, clear surfaces, and dedicated shelving.
How often should I reassess my dual-purpose space?
Aim to reassess every 3 to 6 months. Children’s needs and curriculum change, so your setup should evolve too. Involve your child in the process for the best results.