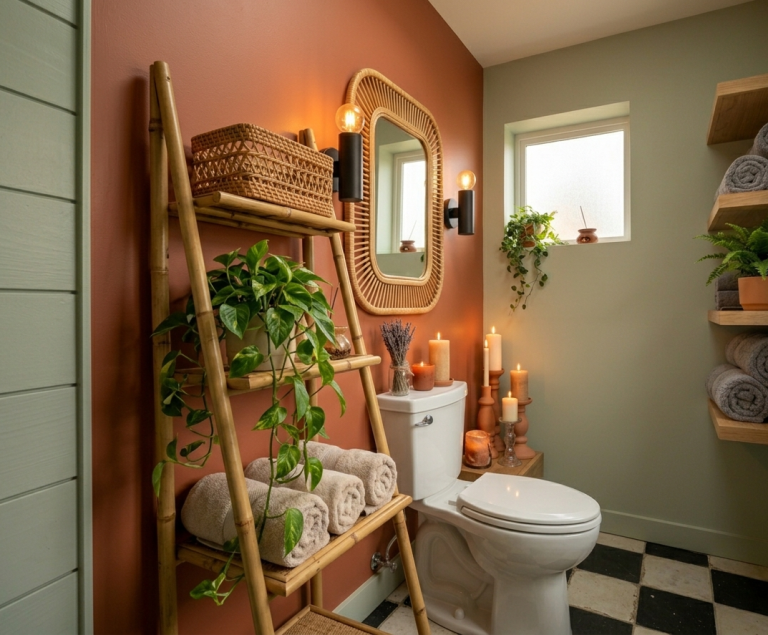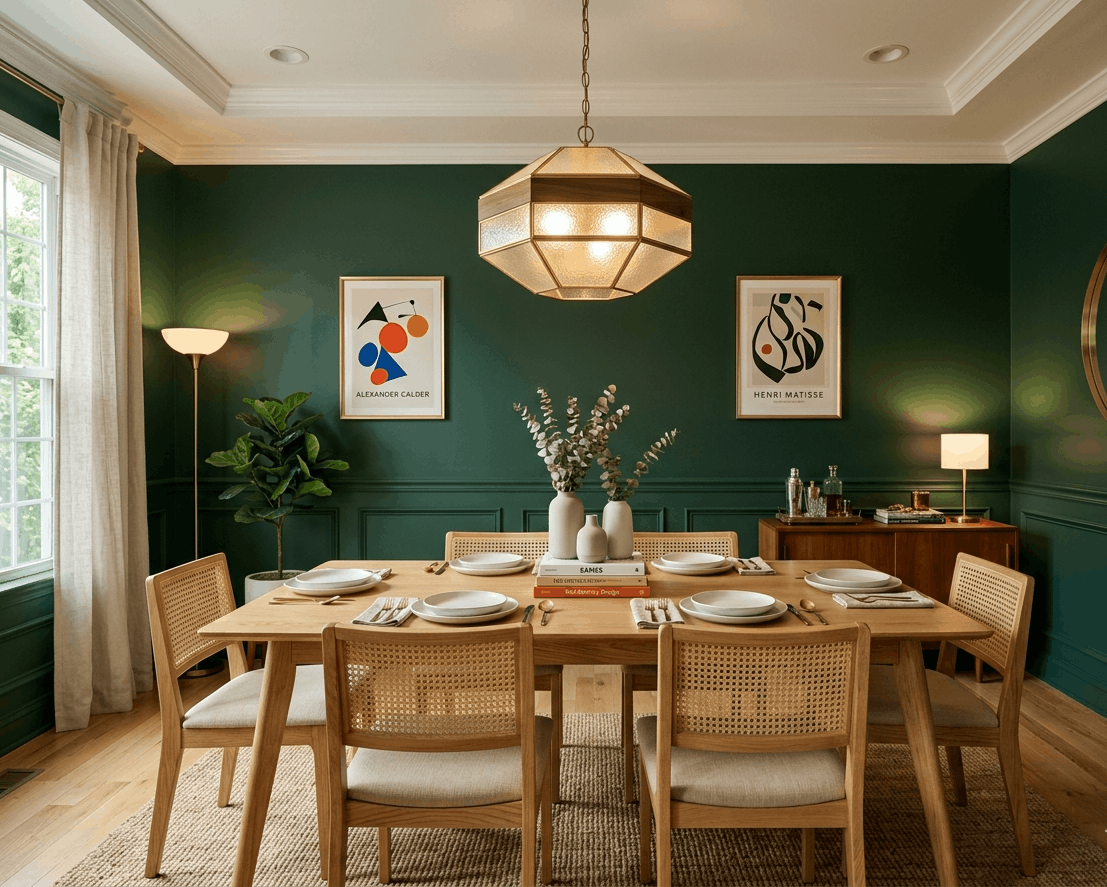
Transform Your Home on a Budget: 14 Easy DIY Home Decor Projects
Have you ever scrolled through home decor magazines, wishing you could afford that stylish, personalized look? Your home should be a sanctuary that reflects your unique personality, but transforming it often feels like it requires a fortune . The good news is, you don’t need a full renovation or an interior designer to create a space you love. With a little bit of creativity, some basic supplies, and a weekend afternoon, you can completely refresh your living space .
This guide explores 14 simple, budget-friendly DIY home decor projects that are perfect for beginners. We’ll cover everything from upcycling old furniture to creating stunning wall art, all designed to add charm and character to every room. Get ready to roll up your sleeves and make your house feel like a home!
1: Create a Rustic Gallery Wall
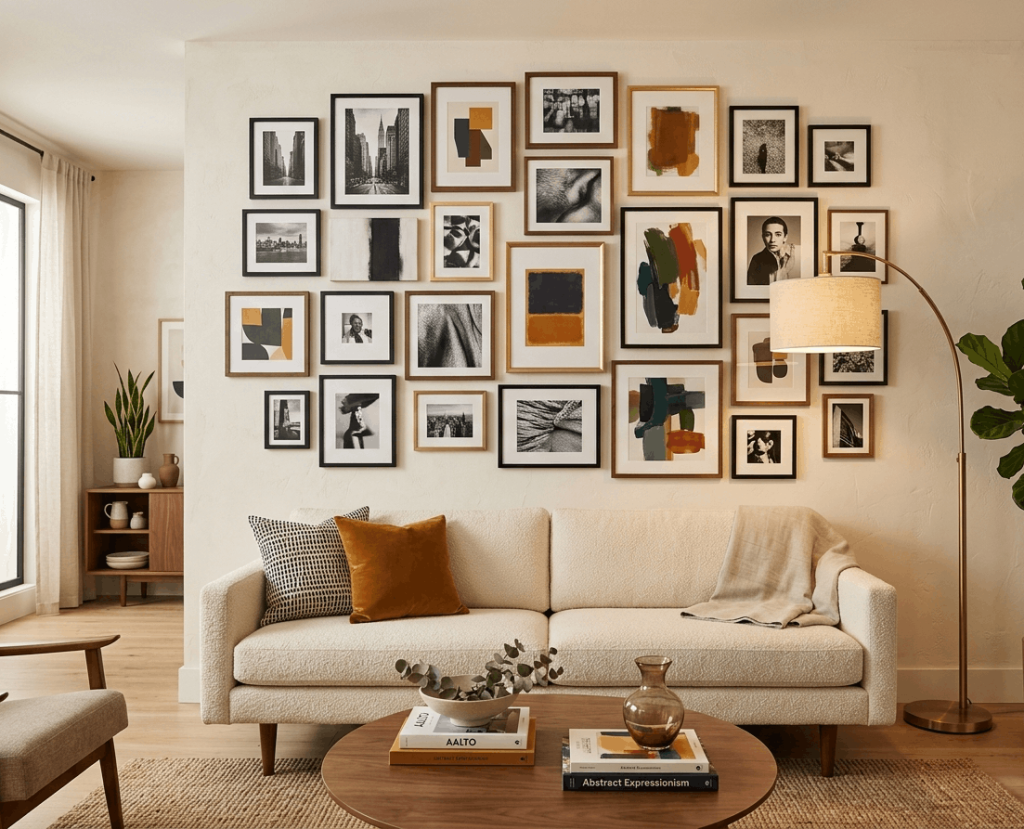
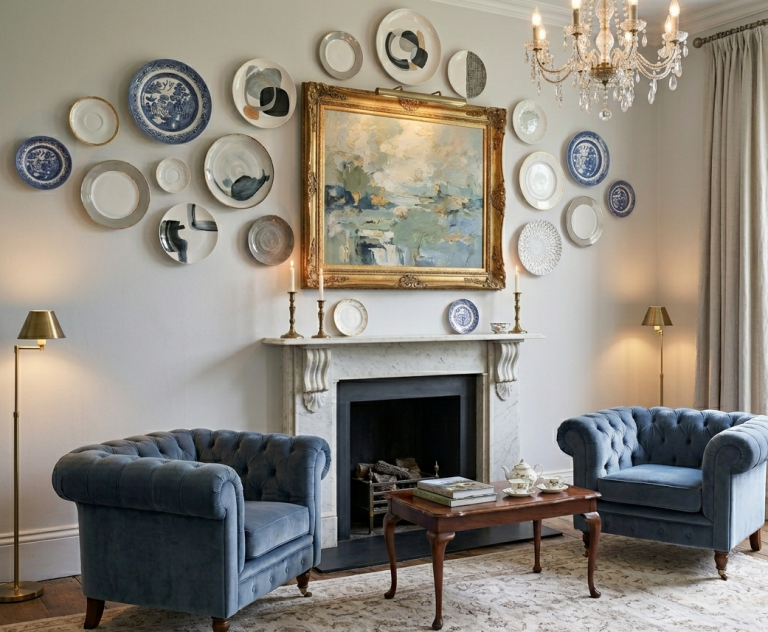
Creating a gallery wall is one of the most personal and impactful DIY home decor projects you can tackle. It’s a fantastic way to showcase your favorite memories, art, and quotes. You don’t need to buy expensive new frames; this project is perfect for thrift store finds and old frames you already have . Mix and match sizes, shapes, and styles for an eclectic look, or stick to a uniform style for a more modern, curated feel.
To keep it budget-friendly, look for affordable frames at second-hand stores and give them a fresh coat of paint . You can even create your own art by framing fabric swatches, pressed flowers, or pages from a vintage book . The key is to arrange your collection on the floor first to plan the layout before you commit to hammering any nails into the wall.
Tips
- Arrange frames on the floor to perfect the layout before hanging.
- Use removable adhesive strips to avoid damaging walls.
- Mix frame styles, but keep a cohesive color palette for a polished look.
2: Upcycle Glass Jars Into a Charming Centerpiece
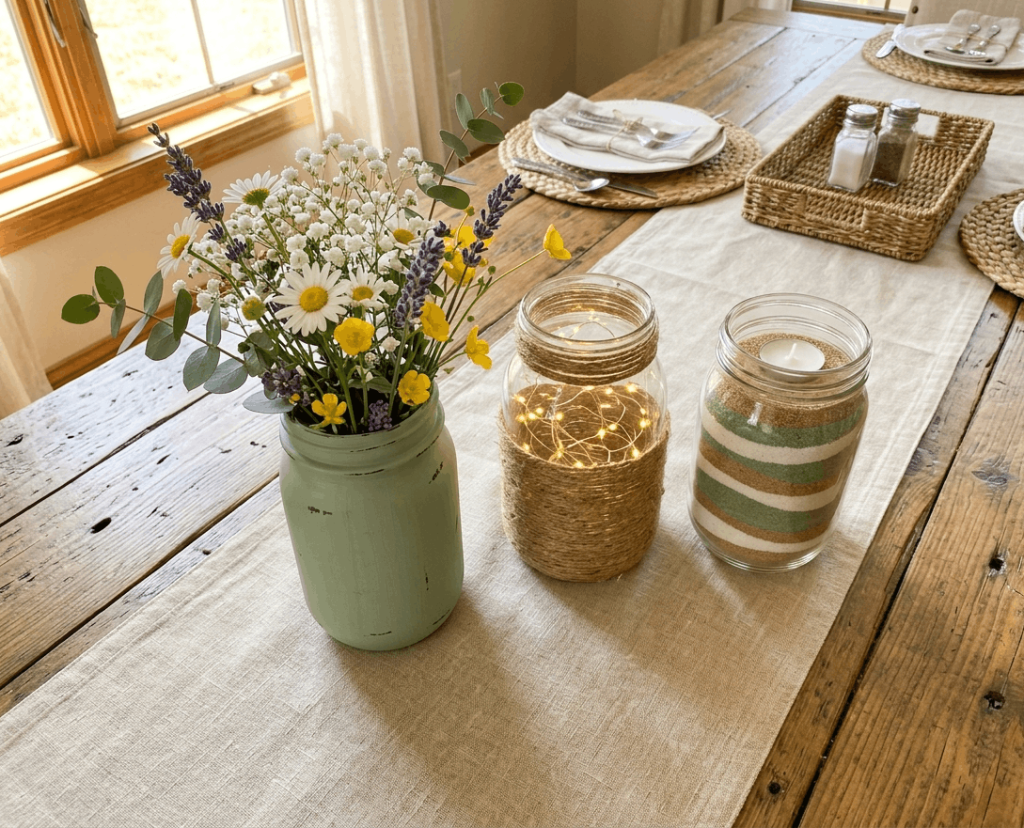
Mason jars are the ultimate DIY staple, and for good reason. They are affordable, versatile, and can be transformed into countless home decor items . A beautiful and simple project is to create a unique centerpiece from old glass jars. You can use them as vases by giving them a fresh coat of paint in your favorite colors . For a more magical touch, fill them with fairy lights to create a warm, ambient glow for your dining table or nightstand .
This is an excellent way to add a personal touch to your space while being kind to the environment by reusing items that might otherwise be thrown away . Decorate the jars with twine, lace, or ribbons for added texture and to match your home’s specific style, whether it’s rustic, boho, or modern .
Tips
- Use chalk paint for a matte, vintage finish.
- Wrap twine around the rim for a rustic, farmhouse touch.
- Fill with colored sand and a candle for a layered beachy look.
3: Build a DIY Floating Shelf from Reclaimed Wood

Floating shelves are a fantastic way to add both storage and style to any room . Building your own is much easier than you might think and offers a custom look for a fraction of the cost of store-bought options. Using reclaimed wood or simple planks, you can create a rustic or modern shelf that perfectly fits your space . These shelves are perfect for displaying books, plants, framed photos, or other decorative items .
One of the best things about this project is its flexibility. You can stain or paint the wood to match your existing decor. Floating shelves are also brilliant for creating the illusion of more space in smaller rooms and adding visual interest to a blank wall . They work well in living rooms, kitchens, bedrooms, and even bathrooms .
Tips
- Use a spirit level to ensure your brackets are perfectly aligned.
- Sand the wood thoroughly before painting or staining for a smooth finish.
- Distribute weight evenly across the shelf to prevent it from tipping.
4: Make a Handmade Macrame Wall Hanging

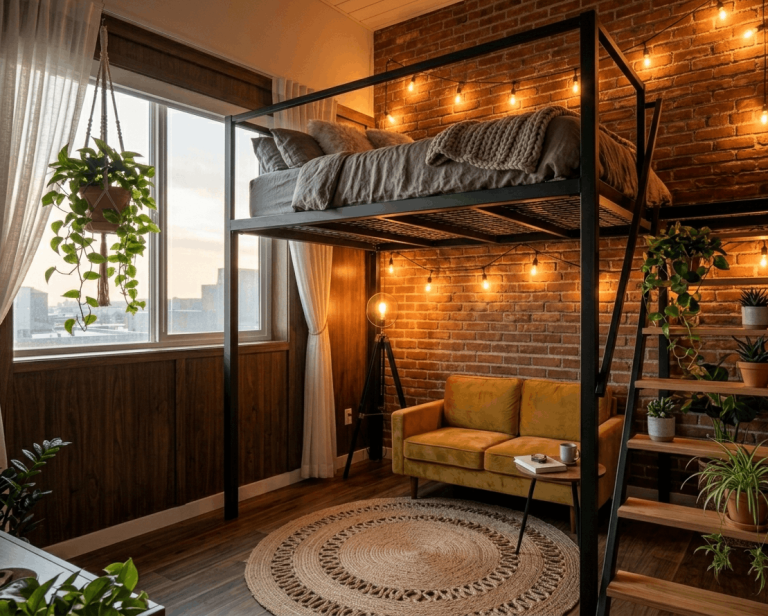
Macrame is back in style, and it’s a fantastic way to add texture and a handmade feel to your walls . This boho-inspired craft is surprisingly easy to learn, requiring only cotton cord and a few basic knots . It’s a relaxing and meditative project that results in a beautiful, one-of-a-kind piece of art. These textured hangings look stunning in living rooms, bedrooms, or hallways, instantly adding warmth and a trendy boho-chic vibe .
The best part about macrame is its customization. You can create a simple design for a small wall or a large, dramatic piece for a feature wall. For beginners, a plant hanger is a great starting point, while more advanced crafters can try complex wall hangings with multiple patterns and colors .
Tips
- Start with simple knots like the lark’s head and square knot .
- Use a wooden dowel as a sturdy and stylish top support.
- Trim the ends evenly for a clean, professional finish .
5: Refresh an Old Dresser With Contact Paper

You don’t need to buy new furniture to get a fresh new look. Upcycling old pieces is a cornerstone of budget-friendly DIY home decor . Peel-and-stick wallpaper or contact paper is a magical solution for giving tired furniture a chic, modern makeover . This simple project is a fantastic alternative to painting and offers a great way to add pattern and color without the mess .
You can cover the drawer fronts of an old dresser, the doors of a cabinet, or even the top of a side table . It’s a renter-friendly solution as well, as it can often be removed without damaging the piece underneath . To complete the transformation, switch out the old hardware for new, stylish knobs or handles for an instant update .
Tips
- Clean the surface thoroughly before applying to ensure a smooth finish.
- Use a credit card or smooth tool to eliminate air bubbles as you apply.
- Wrap the paper around the edges for a more seamless, professional look.
6: Transform a Plain Mirror with a Rope Frame
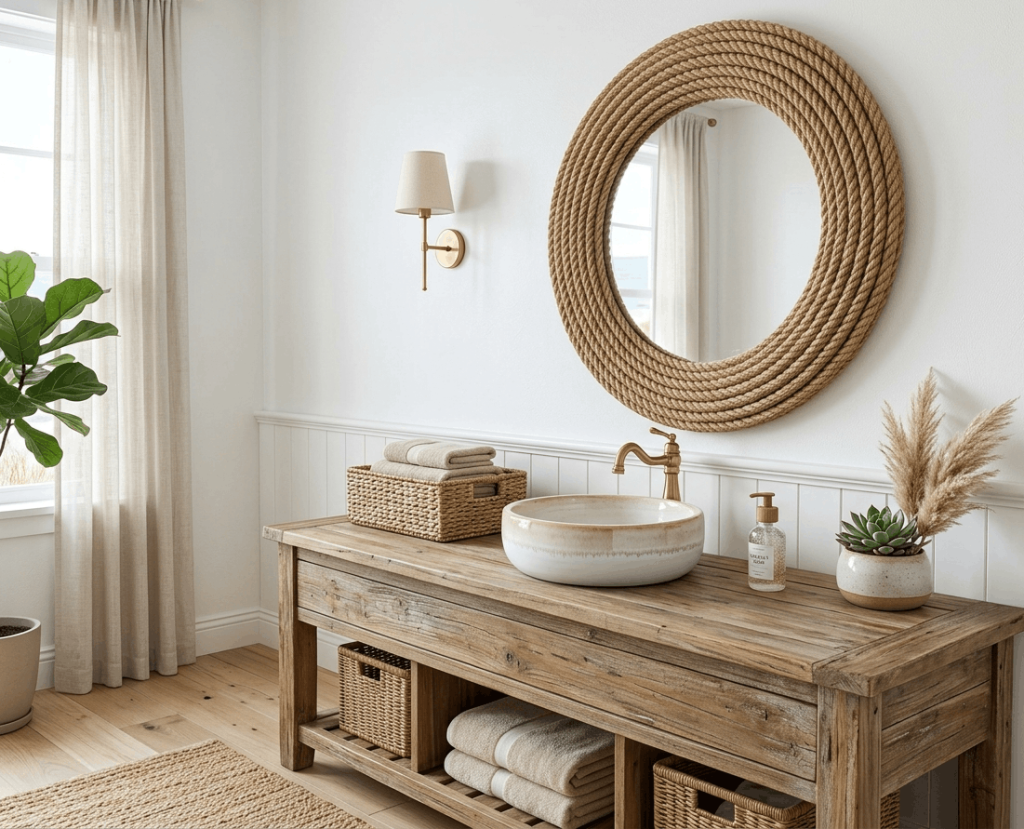
Mirrors are essential for making a room feel larger and brighter, but they can often be a blank canvas. A simple DIY project to add character is to create a new frame for a basic mirror. You can use thick rope or jute to give it a rustic, coastal feel . Simply start gluing the rope to the outer edge of the mirror and work your way inwards until the frame is fully covered .
This project is affordable and adds incredible texture to your space. It perfectly complements a coastal, boho, or farmhouse interior . You can also add decorative elements like shells, beads, or ribbon for a more personalized touch . These framed mirrors look fantastic in entryways, bathrooms, or as a statement piece in a living room.
Tips
- Use a strong adhesive like a hot glue gun to secure the rope.
- Start from the outer edge and work inwards in a spiral for a clean look .
- Finish the end of the rope neatly by tucking it under and gluing it in place.
7: Create Your Own Painted Terracotta Pots
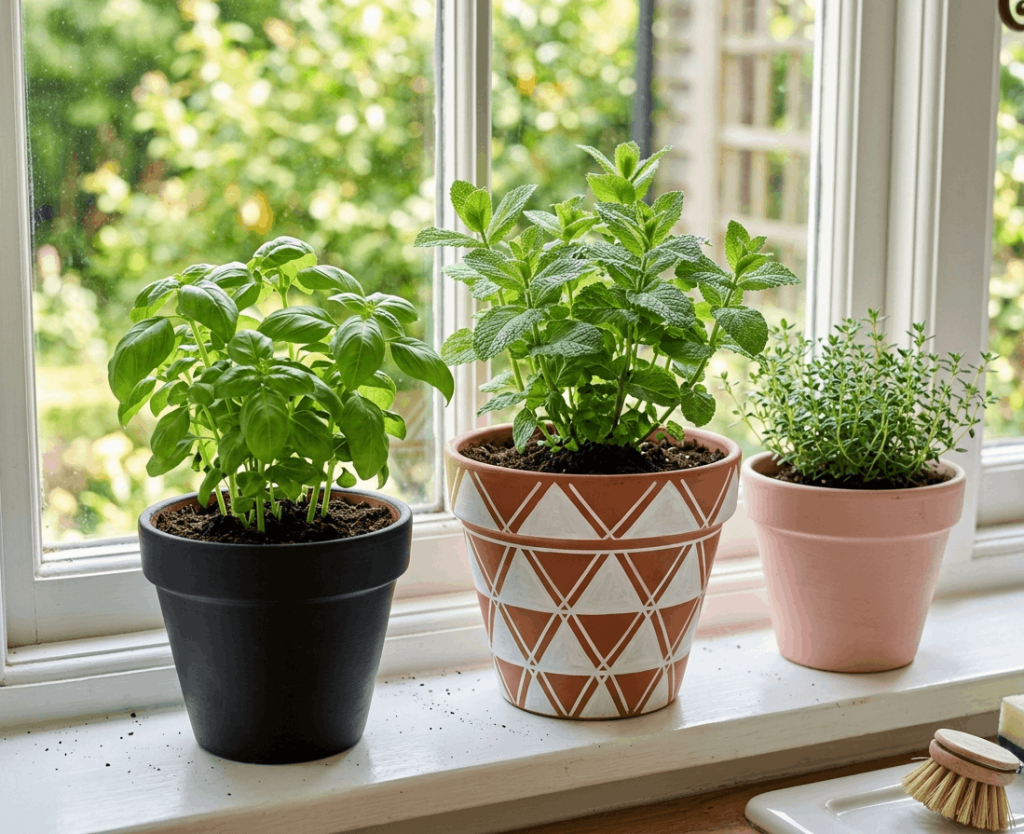
Adding greenery to your home is a top-tier way to boost its aesthetic, and displaying your plants in style is easy with DIY painted terracotta pots . A set of plain clay pots is incredibly cheap and provides a perfect blank canvas for your creativity. You can paint them with bold colors, create fun geometric patterns, or give them a sophisticated ombre effect .
This is a simple, family-friendly project that can brighten up any windowsill, balcony, or shelf . For a modern look, use painter’s tape to create sharp, clean lines for geometric designs . For a more playful vibe, let your imagination run wild with freehand designs or stencils. These personalized pots will make your plants and your space feel much more unique .
Tips
- Use acrylic or chalk paint for the best results on terracotta .
- Use painter’s tape to create sharp, clean lines for geometric patterns .
- Apply a clear sealer to protect your design from water damage.
8: Install a Painted Accent Wall
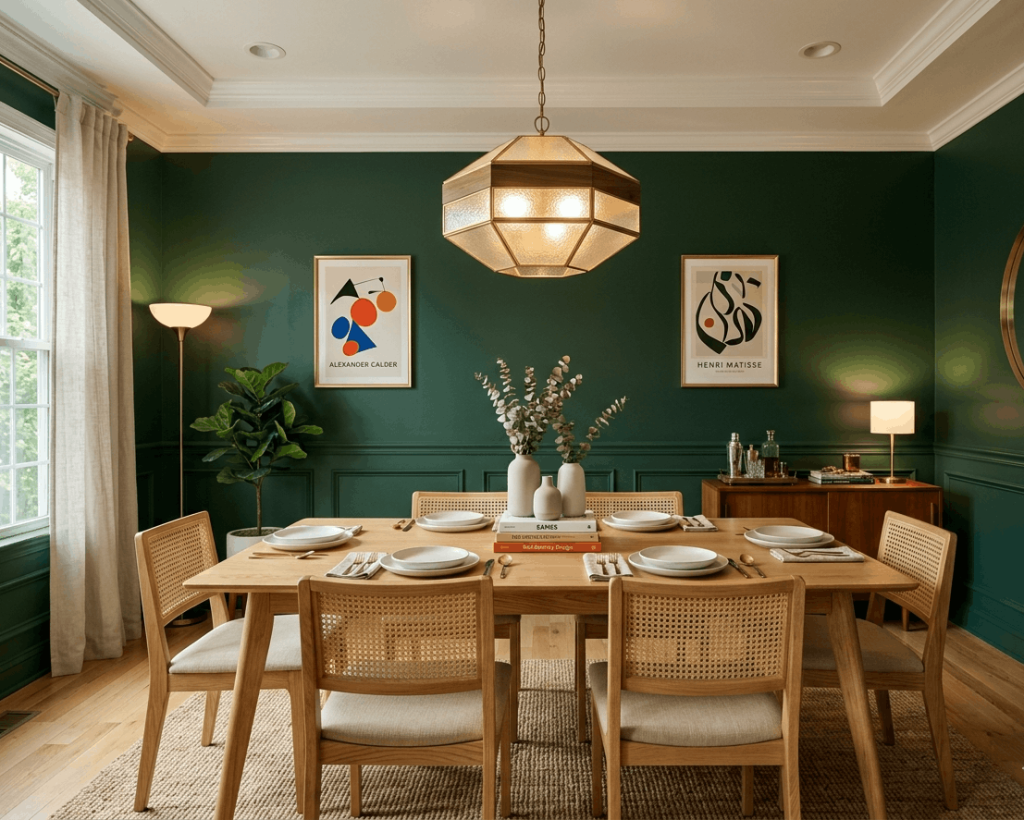
If you’re looking for a high-impact DIY project, consider painting an accent wall . This is a fantastic way to make a bold statement in a room without having to commit to painting the entire space. Choose a bold, saturated color like a deep navy blue, forest green, or a warm terracotta . This instantly anchors the room and adds a layer of sophistication .
For an even more creative twist, you can paint a shape like an arch, or use painter’s tape to create a striped or color-blocked design . This is a renter-friendly idea if you’re prepared to paint it back before you move, and it’s a great way to experiment with color and interior design in a big way .
Tips
- Use painter’s tape to create clean, straight lines for color blocking.
- Prep the wall by cleaning and lightly sanding it for better paint adhesion.
- Use a roller for the main area and a brush for cutting in at the edges.
9: Transform a Ladder into a Blanket Rack
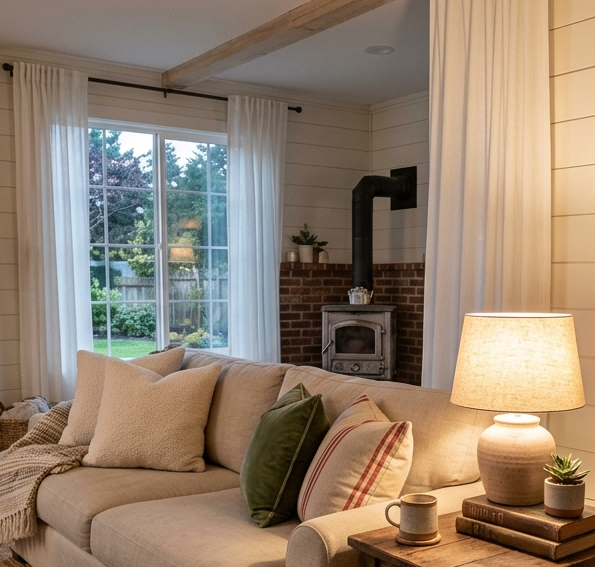
A wooden ladder is one of the most versatile pieces for DIY projects and makes for a stylish and practical addition to any home. You can easily turn an old ladder into a chic blanket rack for your living room or bedroom . Simply lean it against the wall and drape your favorite cozy throws or quilts over the rungs . It instantly adds warmth and texture to the room while providing a convenient place to store blankets.
You can also use this project as a towel rack in the bathroom or as a unique way to display and organize your wardrobe in a dressing room . To customize it, you can sand the ladder down for a natural look, or paint or stain it to match your decor. It’s a functional and stylish accessory that costs very little to make .
Tips
- Place a few decorative books or baskets at the base to weigh it down and add style.
- Drape throw blankets of different textures for a layered look.
- Use a painted ladder in a bold color to make it a focal point.
10: Create No-Sew Curtains from Fabric10
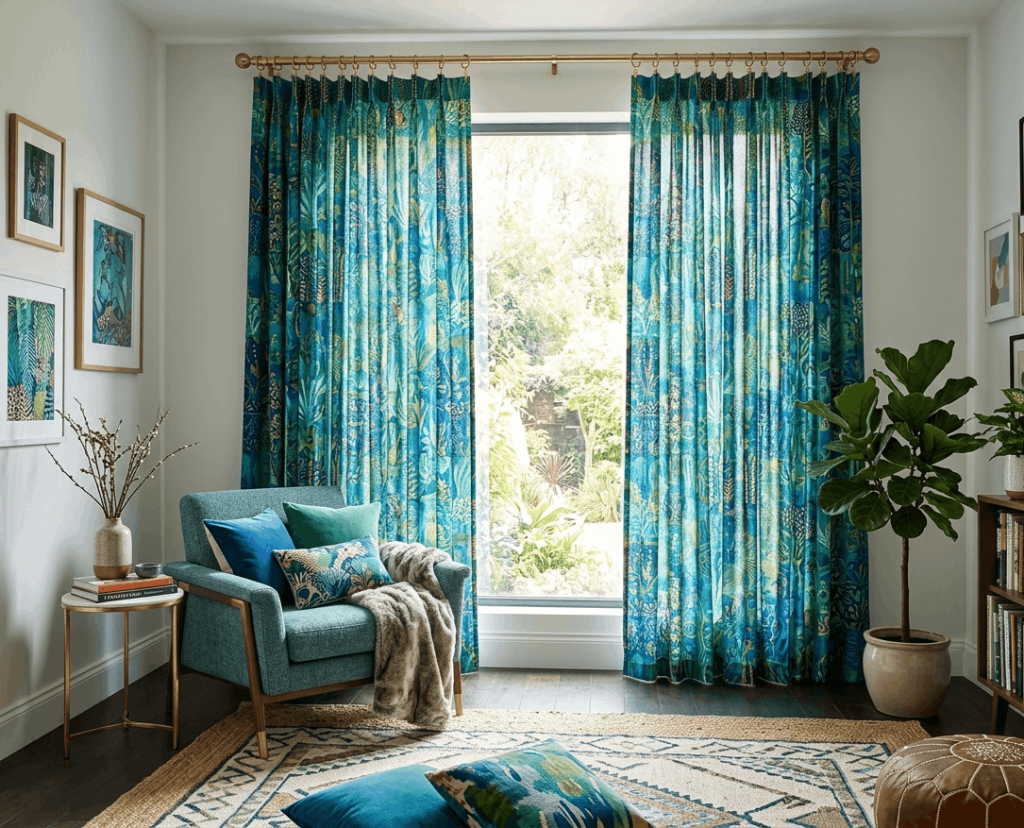
Changing your curtains is one of the quickest ways to refresh a room, but custom curtains can be expensive. A brilliant DIY home decor hack is to make your own no-sew curtains . Using fabric like tablecloths, bed sheets, or large pieces of linen, you can create beautiful curtains in under an hour . The trick is to use curtain rings with clips, which attach to the top of the fabric without needing a rod pocket or any sewing .
This simple idea allows you to easily switch out your window treatments for a new look whenever you want. You can find beautiful fabrics at thrift stores or in the clearance section of fabric shops, making this an incredibly budget-friendly project . It adds a soft, luxurious feel to any room without the cost of custom-made drapes.
Tips
- Ensure the fabric is long enough to pool slightly on the floor for an elegant look.
- Iron the fabric flat before hanging to remove any wrinkles.
- Coordinate the curtain rod and clips for a refined, polished finish .
11: Display a DIY Driftwood Headboard
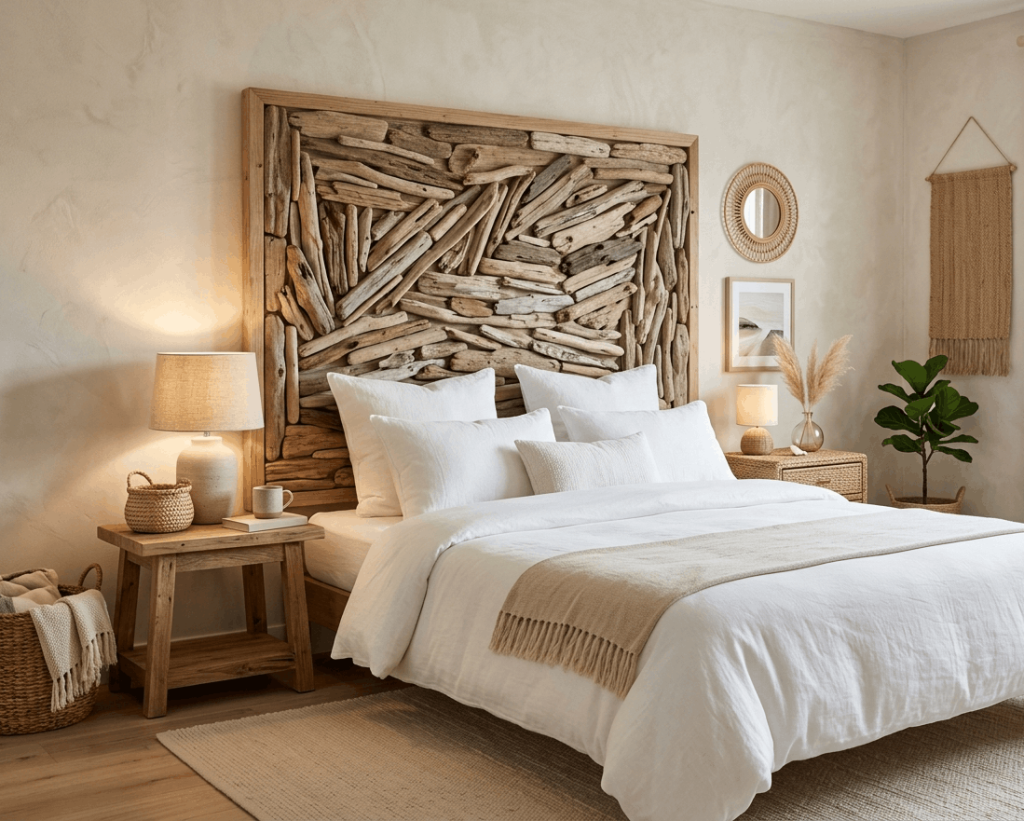
A custom headboard can completely transform the look of your bedroom, but it doesn’t have to cost a fortune. Creating a headboard from driftwood or reclaimed wood planks is a beautiful DIY project that brings natural elements into your home . You can source driftwood from a beach or buy reclaimed wood planks from a lumberyard.
Simply arrange the pieces of wood in a design you like and secure them to a backing board. This creates a stunning, one-of-a-kind, bohemian headboard that adds texture and rustic charm to your bedroom . It’s a fantastic way to create a statement piece that is both beautiful and sustainable, and a conversation starter for any guest .
Tips
- Clean and treat the wood properly to ensure it’s free from pests.
- Arrange the pieces on the floor to design the layout before securing them.
- Mount it directly to the wall for a floating effect or attach it to your bed frame.
12: Upcycle an Old Frame into a Chalkboard Sign
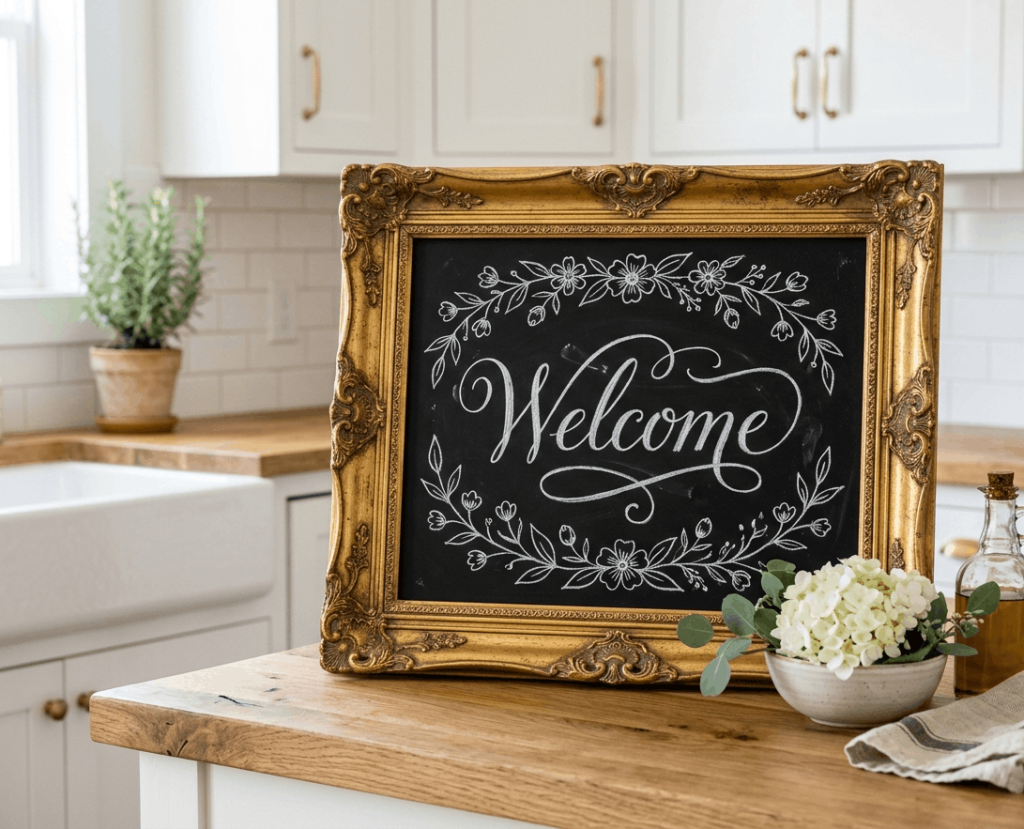
Chalkboard signs are a practical and charming addition to any home, and they are incredibly easy to make from a thrifted frame . Simply paint the glass or the backing board with chalkboard paint. This turns your old frame into a functional and stylish sign for your kitchen, entryway, or office .
You can use it to write motivational quotes, weekly meal plans, or a rotating message to welcome guests . Decorate the frame itself with paint or embellishments to match your home’s style . It’s a great way to add a personal and interactive element to your decor while keeping yourself organized.
Tips
- Use multiple coats of chalkboard paint for a durable writing surface.
- “Season” the chalkboard by rubbing the side of a piece of chalk over the entire surface and then erasing it to prevent ghosting.
- Choose a frame with an ornate design for a vintage look.
13: Personalize Your Pillows with Fabric Paint

One of the easiest and most impactful ways to refresh a room is by updating your throw pillows . Instead of buying new ones, you can create custom designs on your existing covers with fabric paint, stencils, or iron-on decals . This allows you to inject a pop of color and personality into your living room or bedroom for just a few dollars.
This is a fantastic project to try if you’re just getting started with DIY. You can create simple stripes, polka dots, or intricate stenciled designs . By mixing and matching different textures and colors, you can instantly update your sofa or bed and change the entire mood of the room . It’s a budget-friendly way to stay on trend and keep your decor fresh.
Tips
- Place a piece of cardboard inside the pillow cover to prevent paint from bleeding through.
- Use painter’s tape to create sharp lines for stripes and geometric shapes.
- Let the paint dry completely and set it with an iron according to the instructions.
14: Craft Hanging Planters from Macrame
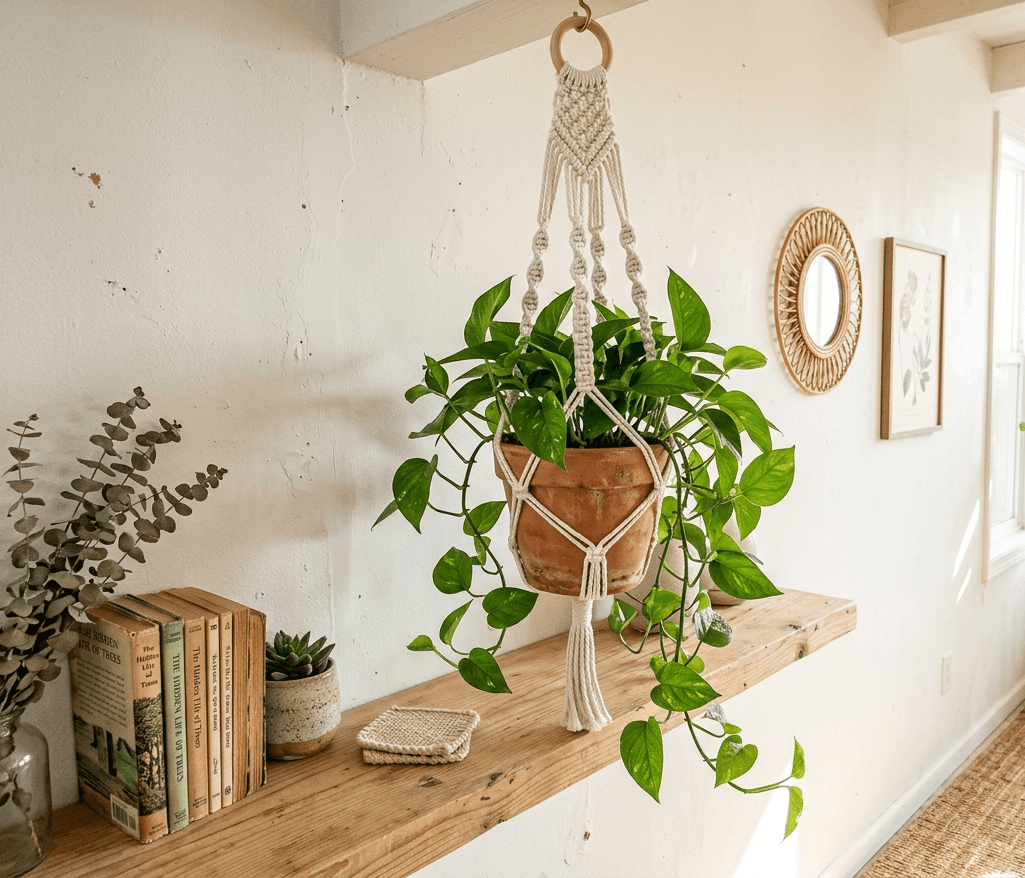
Bringing greenery into your home is one of the most effective ways to improve your decor, and hanging your plants is a fantastic way to save space and add visual interest. Creating your own macrame plant hangers is a simple and rewarding DIY project . Using just a few pieces of cotton cord and some basic knots, you can craft a stylish hanger for your favorite trailing plants .
This DIY project is perfect for adding a boho or natural touch to any room. Hanging a plant in a window or an empty corner can soften the space and improve the air quality . They are also easy to customize you can make them as long or short as you like and choose cord colors to match your decor.
Tips
- Choose a plant that thrives in hanging conditions, like a spider plant or a string of pearls.
- Ensure the knots are tight and secure to hold the weight of the pot.
- Hang the planter from a sturdy hook in the ceiling or a wall bracket.
Conclusion
Transforming your home doesn’t require a huge budget or professional skills. These 14 easy DIY home decor projects are the perfect starting point to add a personal touch to every room. From rustic mason jar centerpieces to chic painted furniture and cozy macrame wall hangings, there’s something here for every skill level and style .
The most important ingredient is your creativity. By investing a little time and effort, you can create a space that is uniquely yours full of personality, warmth, and charm. So, which project will you start with this weekend? Let us know in the comments below!
FAQs
What are the easiest DIY home decor projects for beginners?
Some of the easiest projects include painted mason jars, creating a gallery wall with printable art, and making no-sew curtains from fabric . These require minimal tools and no prior crafting experience.
How can I decorate my home on a budget?
The best way to decorate on a budget is to upcycle what you already have . You can give old furniture a fresh look with a coat of paint, repurpose glass jars as vases, and create wall art from fabric scraps or framed photos . Shopping at thrift stores for frames and furniture is also a fantastic money-saver.
What is the 3-5-7 rule in decorating?
The 3-5-7 rule is a basic interior design principle that suggests arranging items in odd numbers (like groups of 3, 5, or 7) for a more visually appealing display . This creates a sense of movement and visual interest, making your decor look more curated and natural rather than stark or symmetrical.